Make a Live-Edge Charcuterie Board With Inlaid Epoxy
A walnut live-edge board with its knots and cracks filled with colored epoxy, sanded flush and oiled food-safe — the six steps and the tools for each one.
Published October 10, 2026 · 7 picks
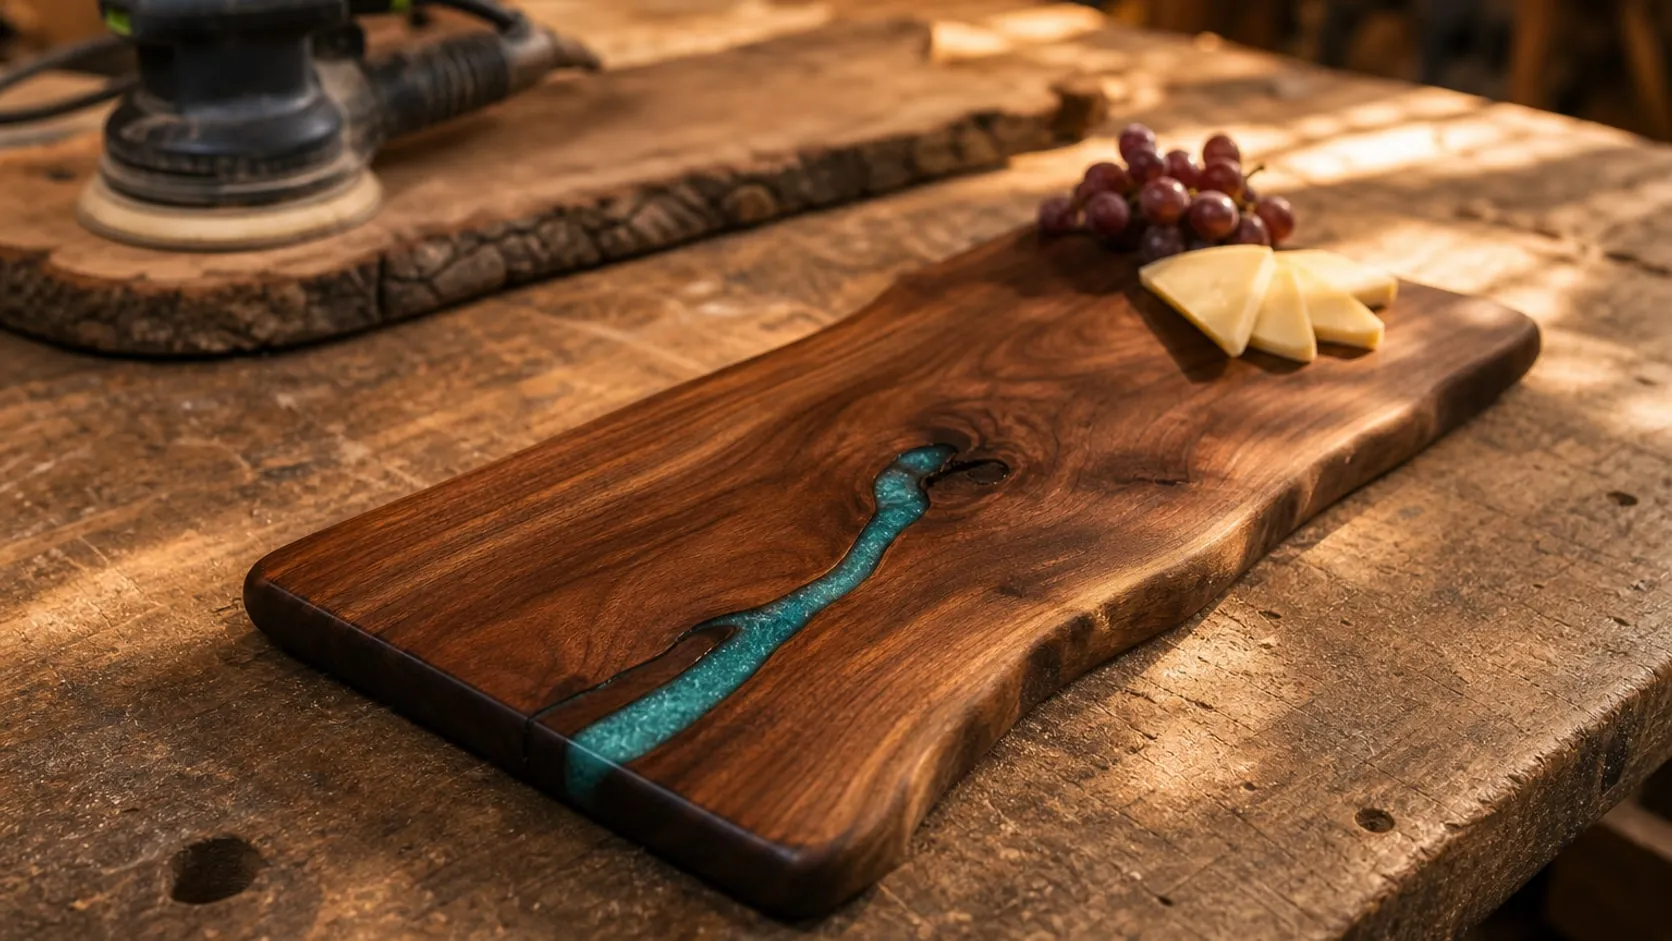
A live-edge board with a bright vein of epoxy running through a knot is one of those projects that looks far harder than it is. The wood does most of the design work: the epoxy only fills the cracks, knots and bark pockets that are already there. What takes skill is patience, a good seal under every void, and sanding it all flush. Here’s the whole process, with the tools for each step below.
Step 1: Pick and cut the board
Choose the wood for its flaws. A board with a loose knot, a crack running in from the end, or a bark pocket along the live edge gives the epoxy somewhere to go.
- Dark, dry hardwood. Walnut is the favorite because bright resin stands out against it. Kiln-dried wood is a must; wet wood keeps moving and pushes the epoxy out or cracks it.
- Lay out the board first. Mark a length of 14–20 in with the best feature off-center, and keep the live edge on one or both long sides.
- Cut the ends square and check the face for flatness with a straightedge. A rocking board will hold the epoxy at an angle while it cures.
- Deal with the bark. Tap it with a screwdriver handle; if it sounds hollow or lifts, pry it off and clean the edge with a wire brush. Bark that stays on can be sealed with the same epoxy later.
- Clean out the voids. Dig loose wood and dirt out of knots and cracks with an awl and blow them clean.
Step 2: Seal the voids and build a dam
Epoxy runs out of any opening it can find, so every void has to be closed from below.
- Tape the back. Lay tape across the underside of every crack and knot that goes all the way through, and rub it down hard with a plastic scraper.
- Build a dam where a void opens to the edge. Wrap a scrap of melamine or plywood in the same tape, press it against the edge, and clamp it in place. The epoxy fills the void up to the dam and pops off the tape later.
- Tape around the top of each void, a few millimetres back from the edge, to catch overflow and drips.
- Clamp the board to a flat, level surface covered in plastic, and check level in both directions. Epoxy levels itself, and on a tilted board it ends up thin on one side.
- Seal the walls (optional, but worth it). Brush a thin coat of mixed epoxy into each void and let it set for a few hours. It closes the open grain so air doesn’t bubble up through the main pour.
Step 3: Mix, color and pour
Set up before the bottles open: a warm room around 70–75 °F (21–24 °C), fresh air with a fan blowing out, nitrile gloves, safety glasses and long sleeves. In a small or closed room, wear a respirator with organic vapor cartridges. Keep kids and pets out until the epoxy is hard.
- Estimate the amount. Length × width × depth of the voids, in cubic inches, divided by 1.8 gives fluid ounces. A typical knot and crack in a serving board takes 2–4 oz of mixed epoxy. Mix about a third more than you need.
- Measure 1:1 by volume in a cup with marked lines. Stir slowly for three minutes, scraping the sides and bottom, then pour into a second cup and stir again.
- Add color. A pinch of mica powder gives a shimmering vein, a few drops of alcohol ink a translucent one, an opaque pigment a solid one. Stir it in fully.
- Pour slowly from one end of the void, in a thin stream, and let it flow. Fill it slightly above the wood, about 1/16 in (1–2 mm); epoxy soaks into the wood and settles as it cures.
- Respect the layer limit. Casting epoxy heats up as it cures, and too much in one go cracks or yellows. The epoxy below allows 1/2 in per layer on a board, so a deep knot gets two pours a day apart.
Step 4: Pop the bubbles and let it cure
Within the first 10–15 minutes, pass a heat gun or a small torch quickly over the surface, several inches above, to pop the bubbles that rise. Keep it moving; a flame held still scorches the wood and the tape. Check again after half an hour, then cover the board with an upturned box to keep dust out.
Now leave it. The epoxy below can be demolded in about a day, but it needs about three days to cure fully, longer in a cool room. Sanding early clogs the paper and tears soft resin out of the void.
Step 5: Sand it flush
Peel the tape and remove the dam. The epoxy now stands proud of the wood, and the goal is one flat surface.
- Start at 80 grit at low speed on the random orbit sander. Keep it moving and let its weight do the work, so the epoxy doesn’t heat up and gum the disc. A hand plane or a card scraper takes off a big bump faster.
- Work up through 100, 120, 150 and 220, wiping off the dust between grits. Each grit only removes the scratches of the one before it.
- Sand the live edge by hand, following its shape with a folded sheet of 120 and then 220. Ease any sharp spot where the epoxy meets the bark.
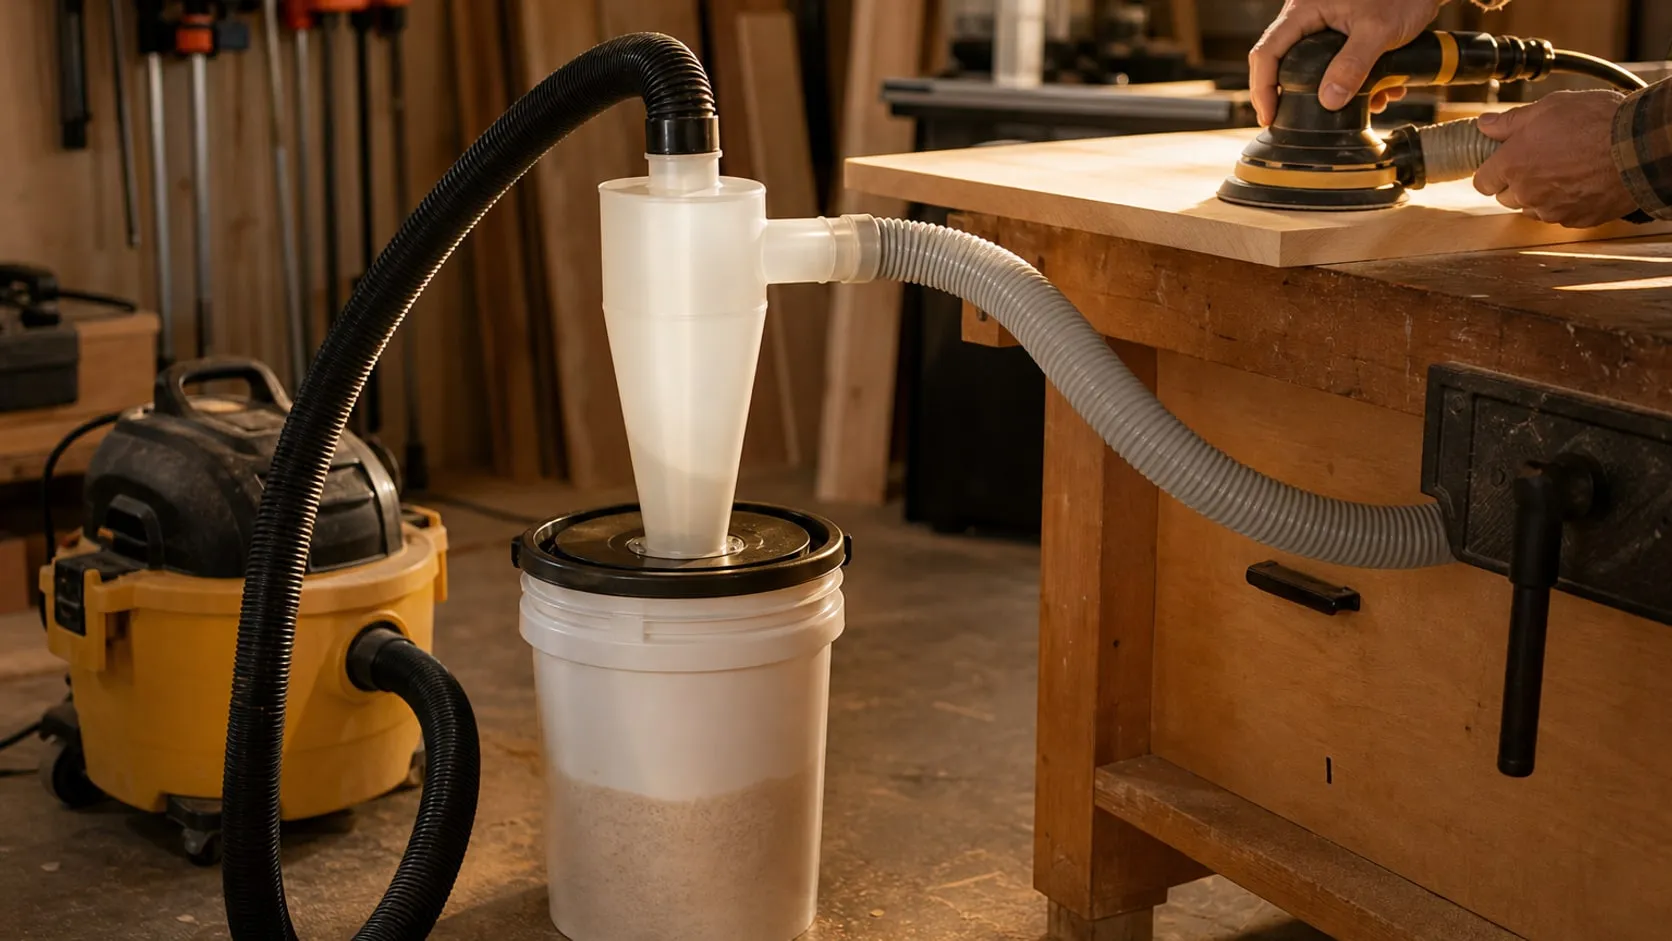
- Wear a dust mask or respirator. Fine epoxy and walnut dust should not be breathed in. A vacuum on the sander’s dust port helps a lot.
Wipe the board with a damp cloth to raise the grain, let it dry, and give it a last light pass with 220. The surface stays smooth after the first wash.
Step 6: Oil it and finish it for food
Flood the whole board, both faces, the ends and the live edge, with cutting board oil. Wait 20 minutes, wipe off what didn’t soak in, and repeat the next day. The walnut darkens and the epoxy suddenly looks brighter against it.
Add four small rubber feet on the bottom if you like, so it sits flat and lifts easily.
About food safety: the oil and wax are the food-safe part of this board. Most epoxies, including the one below, aren’t sold as food-safe, and even fully cured resin isn’t meant to be a cutting surface. So treat the inlay as decoration: serve cheese and meat on the wood or on a sheet of parchment, and keep the knife off the epoxy. Add a care note for a gift: hand wash only, never the dishwasher, and oil it again when it looks dry.
What it costs in time: an evening for cutting, cleaning and taping, under an hour for the pour, three days of curing, then an afternoon of sanding and two short oiling sessions. Start at least a week before you need the board. The tools for each step are below.
At a glance
7 picksAs an Amazon Associate I earn from qualifying purchases. If you buy through a link on this page we may earn a small commission, at no extra cost to you. How this works.
Walrus Oil Live Edge Walnut Slabs, 3-Pack
Kiln-dried walnut with the bark edge, knots and cracks an inlay needs.
A live-edge board starts with picking the board, and that’s the part an online order makes harder: you get what the pack contains. The upside here is that it’s three long boards, not one short blank. A 36-inch board leaves room to cut around a bad check or a loose patch of bark and still get a 14–18 in board with the most interesting knot in the middle.
Walnut is the classic choice for epoxy work because it’s dark. Clear, white, turquoise or metallic resin all read strongly against it, and the natural defects (knots, small cracks, bark pockets) are exactly the voids an inlay fills.
Pro tip Before you cut, wipe the board with a damp cloth or mineral spirits. The wet wood shows the color and figure it will have after oiling, and makes it easier to decide where the epoxy vein should run.
Why we like it
- ✓Real live edge on the boards, with knots and bark inclusions that make natural spots for an epoxy inlay
- ✓Kiln dried below 10% moisture, per the listing, so the wood is ready to work
- ✓36 in long — each board cuts into two or three serving boards
- ✓Walnut's dark color makes bright or clear epoxy stand out
Keep in mind
- !Every board is different; you can't choose the knots, cracks or width you get
- !Unfinished and 7/8 in thick — expect to flatten and sand before the pour
- !Bark on a live edge can be loose and may need to come off or be stabilized
- Wood
- Walnut, unfinished, kiln dried (below 10% moisture)
- Size
- 36 in long × 6–10 in wide × 7/8 in thick (each)
- Pack
- 3 boards
- Model
- WOSM-W24-3PK
Tuck Tape Construction Sheathing Tape, 2.4 in × 180 ft (Red)
Epoxy doesn't stick to it, so it seals cracks and lines the dam.
Epoxy flows into every gap it can find, including the hairline crack on the underside of a board. A layer of tape pressed hard across the back of every void turns the board into its own mold. Tuck Tape is a building tape, but its polypropylene face doesn’t bond to epoxy, which is why it shows up in so many river-table builds.
The same tape covers the edges of a melamine or plywood dam, so the epoxy that runs over the edge pops off the form instead of gluing it to the board.
Pro tip Burnish the tape with a plastic scraper or the back of a spoon, especially over the grain around a crack. Epoxy finds the smallest channel under loose tape, and a leak during a pour is much harder to fix than a minute of rubbing.
Why we like it
- ✓Cured epoxy releases from the tape, per the listing, so it works as a mold-release surface
- ✓Strong acrylic adhesive seals the underside of a crack so resin can't leak out
- ✓2.4 in wide and 180 ft long — enough for many pours and a full form board
- ✓Also sticks well to melamine and plastic, the usual materials for epoxy forms
Keep in mind
- !Made for building sheathing, not resin — test it with your epoxy before a big pour
- !The listing warns it can leave adhesive residue that's hard to remove; plan on sanding the taped face
- !Any wrinkle or gap in the tape shows up as a ridge or leak in the epoxy
- Size
- 2.4 in × 180 ft (61 mm × 55 m)
- Film
- Polypropylene, one-sided acrylic adhesive
- Color
- Red
- Model
- 205-00
WORKPRO 12 in Quick-Release Bar Clamps, 2-Pack
One-handed clamps that hold the board and dam still for a day.
Epoxy doesn’t need much clamping pressure, but it does need nothing to move for a day. These clamps hold a board down on a flat form, pull the side boards of a dam tight against the edge, and keep a thin board from lifting at a corner while the resin cures. The one-handed trigger matters here: the other hand is busy keeping the board in place.
At 150 lb, they’re on the light side, which suits this job and boards of this size. For gluing up a tabletop, a heavier clamp is the better tool.
Pro tip Put a strip of packing tape or a scrap of plastic under each clamp pad near the pour. Epoxy that drips onto a pad sets hard, and a clamp glued to a form is a frustrating start to demolding.
Why we like it
- ✓One-handed squeeze trigger and a quick-release lever
- ✓Up to 150 lb of clamping force, per WORKPRO
- ✓Soft pads that don't dent walnut or mark the face of a board
- ✓Jaws reverse to work as a spreader
Keep in mind
- !Light duty — not for heavy glue-ups or pulling warped boards flat
- !2-3/8 in throat depth limits how far in from the edge it can reach
- !Two clamps is the minimum; a form board usually wants four
- Opening
- 12 in (305 mm)
- Throat depth
- 2-3/8 in
- Clamping force
- Up to 150 lb
- Bar
- Hardened steel, nylon-reinforced body
- Pack
- 2 clamps
TotalBoat ThickSet Deep Pour Epoxy, 2 Qt Kit
A 1:1 casting epoxy made for filling voids in wood, 1/2 in per layer.
Most clear resin sold for crafts is made for thin coats or small molds, and it heats up and cracks when poured into a deep knot. ThickSet is a casting epoxy: it’s mixed thinner and cures slower, so it can fill a crack in a 7/8 in board in one or two layers. The 1:1 ratio keeps the measuring simple.
One thing the listing doesn’t claim is food safety, and that’s normal for this kind of epoxy. On a charcuterie board, the resin is the decoration. The wood around it does the serving, which is why the inlay goes in voids and the board gets a food-safe oil on top.
Pro tip Measure, don’t eyeball: mix 1:1 by volume in a cup with marked lines, stir slowly for a few minutes and scrape the sides, then pour into a second clean cup and stir again. Unmixed resin from the cup wall is the usual cause of a soft, sticky spot in the finished inlay.
Why we like it
- ✓Simple 1:1 mix ratio
- ✓Rated for 1/2 in per layer on slabs and larger castings, up to 2 in in small molds
- ✓TotalBoat lists live-edge slabs, deep voids and decorative inlays as intended uses
- ✓Takes mica powder, alcohol ink and other epoxy colorants
- ✓A 2-quart kit is a sensible size for a few boards, with less leftover than a gallon
Keep in mind
- !Three days to full cure — the board can't be sanded and oiled the next morning
- !Not sold as food-safe; keep food on the wood or on parchment, not on the epoxy
- !Deeper voids need two or more layers, each one waiting on the last
- Contents
- 1 qt resin + 1 qt hardener (2 × 946 ml)
- Mix ratio
- 1:1 by volume
- Pour depth
- Up to 1/2 in per layer (slabs), up to 2 in (small molds)
- Demold
- About 24 hours
- Full cure
- 3 days
- Part number
- 521590
DEWALT DWE6423 5 in Variable-Speed Random Orbit Sander
Variable speed, so the epoxy can be sanded slowly without gumming up.
Sanding is where an epoxy board is won or lost: the cured resin stands proud of the wood and has to come down flush without dishing the softer wood around it. A random orbit sander does that faster than hand sanding and leaves no straight scratch lines in the walnut.
The speed dial is the reason to choose this model over a single-speed one. Epoxy softens with heat, and at full speed it can load up a disc in seconds. Turning the speed down on the first grits keeps the paper cutting.
Pro tip Let the sander’s weight do the work and keep it moving. Pressing down slows the pad, heats the epoxy and leaves swirl marks. Wear a dust mask or respirator: cured epoxy dust and walnut dust are both worth keeping out of your lungs.
Why we like it
- ✓Variable speed, 8,000–12,000 OPM — slower speeds keep epoxy from heating and gumming the paper
- ✓Separate counterweight reduces vibration, per DEWALT
- ✓Dust port fits DEWALT shop vacs or a 1-1/4 in hose with an adapter
- ✓Dust-sealed switch and a locking dust bag
Keep in mind
- !Corded, so the cable has to be kept clear of the board
- !The dust bag alone won't catch fine epoxy dust; a vacuum hookup and a mask are still needed
- !Takes 8-hole 5 in hook-and-loop discs only
- Pad
- 5 in, hook and loop, 8 holes
- Motor
- 3 A, corded
- Speed
- 8,000–12,000 OPM, variable
- Weight
- 3.4 lb
- Included
- Sander, dust bag
POWERTEC 5 in 8-Hole Sanding Discs, 80–220 Grit, 50-Pack
Ten discs each of 80 to 220 grit, the whole sequence for a board.
An epoxy inlay goes through more sandpaper than a plain board, because the first grit has to cut through hard resin standing above the wood. Ten discs of each grit covers that, with enough left for the next board. The sequence is also the right one for a food board finished with oil: 80 to level, 120 to remove the scratches, 220 to finish.
What it doesn’t include is anything above 220. For a matte, oiled charcuterie board that’s fine. For a glassy polished inlay, add a pack of 320–600 discs.
Pro tip Don’t skip grits to save time. Each grit only removes the scratches of the one before it, and walnut shows a skipped step as fine swirls the moment it’s oiled. Wipe the board between grits so loose grit doesn’t scratch it.
Why we like it
- ✓Five grits from 80 to 220 in one box, ten discs of each
- ✓Aluminum oxide with an anti-clog stearate coating
- ✓POWERTEC lists epoxy and wood among the intended surfaces
- ✓Can be used wet with a light mist, per the listing
Keep in mind
- !Stops at 220 — a glossy epoxy finish needs finer grits bought separately
- !Epoxy loads discs faster than wood; expect to use several of the coarse grit per board
- !8-hole pattern only
- Size
- 5 in, 8 holes, hook and loop
- Grits
- 80, 100, 120, 150, 220 (10 each)
- Abrasive
- Aluminum oxide, stearate coated
- Model
- 44000XG-50
Walrus Oil Cutting Board Oil, 8 oz
Mineral oil and beeswax, made for boards that touch food.
A charcuterie board is a food surface, so the finish has to be one you’d be fine eating off. Oil and wax are the standard choice: they soak into the wood, keep it from drying out and cracking, and leave nothing that can peel. On walnut the first coat is also the moment the board changes from dusty brown to deep chocolate.
The epoxy doesn’t need oil, and oil wiped across it simply comes off with the excess. That makes it easy to finish the whole board in one pass.
Pro tip On a new board, apply a heavy first coat, wait 20 minutes and wipe off what didn’t soak in; repeat the next day. Lay oily rags flat outside to dry before throwing them away, as with any oil finish.
Why we like it
- ✓Mineral oil, fractionated coconut oil, beeswax and vitamin E — a short ingredient list
- ✓Walrus Oil describes it as FDA compliant for food-contact surfaces
- ✓Wipe-on finish; no brush, spray or long wait between coats
- ✓Brings out the dark color of walnut
Keep in mind
- !An oil-and-wax finish, not a film — it needs a fresh coat every few weeks of use
- !Does nothing for the epoxy itself; the inlay just gets wiped clean
- !8 oz goes quickly if you flood several new boards
- Volume
- 8 fl oz (236 ml)
- Ingredients
- Mineral oil, beeswax, fractionated coconut oil, vitamin E
- Application
- Thin coat, let soak, wipe off
- Model
- WO-CBO8