DIY LED Neon Rope Sign for Home & Gifts
A glowing name or word on clear acrylic, made from 12 V neon rope. Six steps from sketch to wall, with a short parts list and a dimmer remote.
Published October 23, 2026 · 6 picks
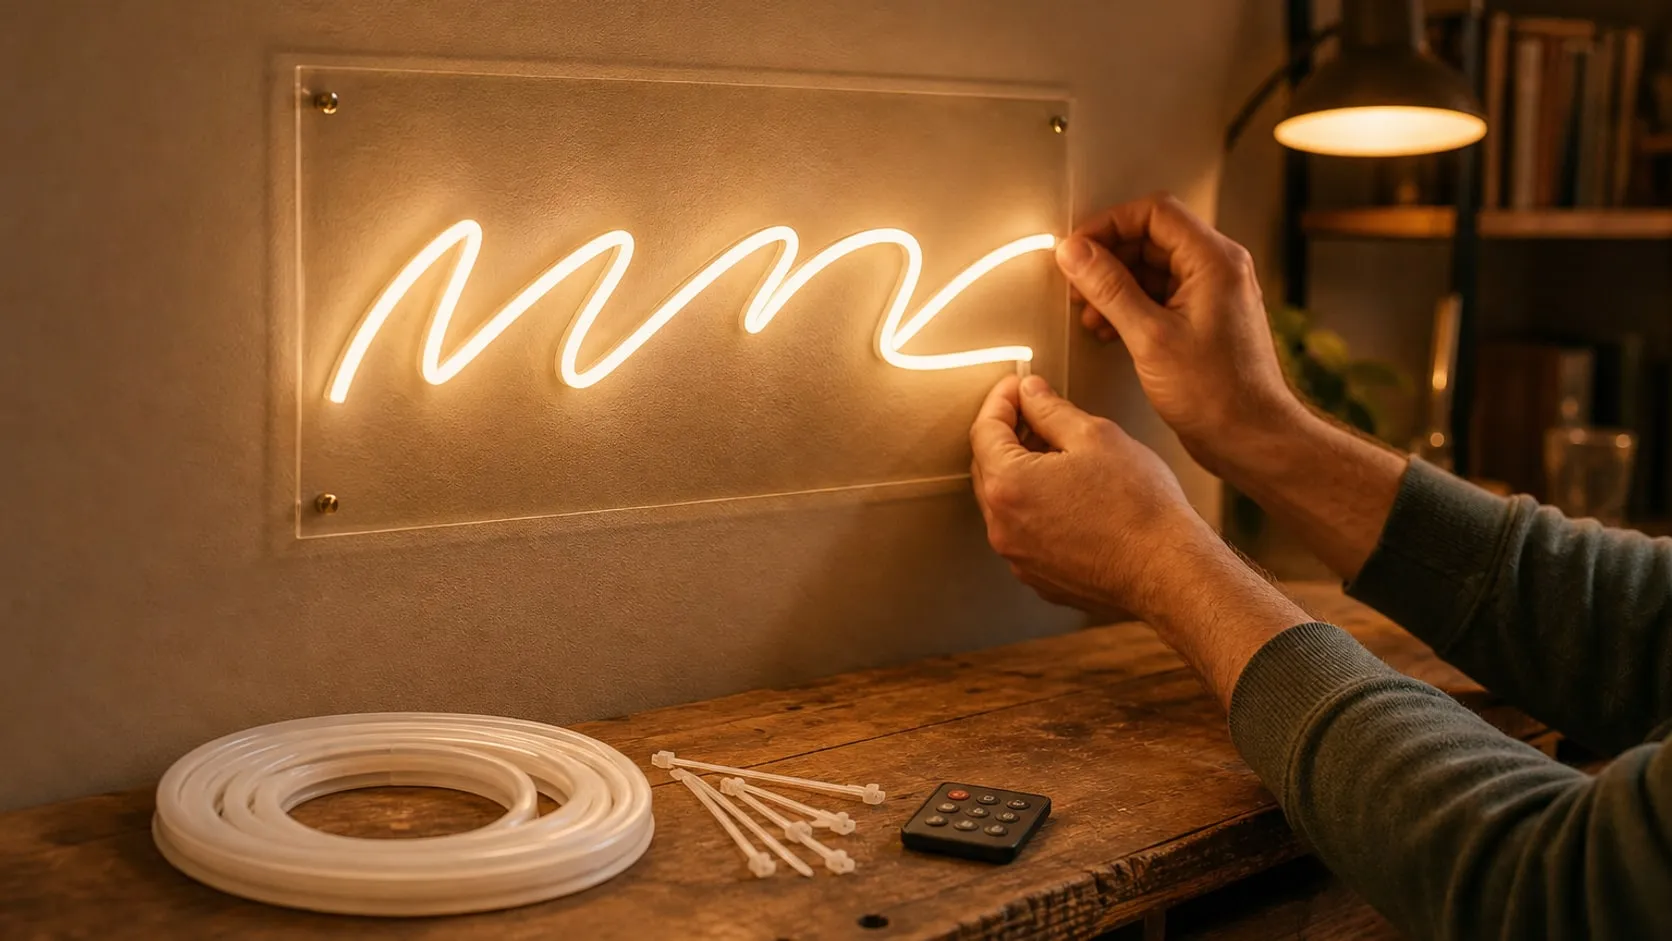
Custom neon signs are everywhere on Pinterest and Reels, usually a name, a short word or a small shape glowing over a bed, a desk or a party table. Made-to-order versions are expensive and take weeks. The homemade version uses LED neon rope, a silicone tube with an LED strip inside, tied onto a clear acrylic panel. It runs on safe 12 V, glows like the real thing from a few feet away, and makes a personal gift that people actually hang up. Here’s the whole process, step by step, with the parts for each step below.
Step 1: Design the sign
Neon rope draws a line, not a filled shape, so the design has to be a single-stroke drawing.
- Use a script or monoline font. Connected handwriting fonts are ideal, because one word can be one long tube. Print the word at full size (on several taped sheets if needed) or draw it by hand.
- Keep the letters at least about 4 in (10 cm) tall. Small loops in an “e” or “a” need curves tighter than the tube can make. Bend a test piece first and design around your tightest smooth curve.
- Mark the breaks. Wherever the light has to stop and start again (dotting an “i”, a gap between words, a letter that can’t connect), draw a small cross. Each one is a cut and a hidden wire jump behind the panel.
- Measure the path. Lay a piece of string along every stroke and add it up. A one-word name is usually 3–6 ft (1–2 m) of tube. Add 10% for mistakes.
Step 2: Prepare the acrylic backing
Leave the protective paper on and tape your full-size printout over it. Allow a margin of at least 1 in (2.5 cm) around the lettering, then trim the sheet if it’s too big: score it several times along a straight edge with an acrylic scoring knife and snap it over the edge of the bench.
Mark pairs of holes along every stroke, one on each side of the line, about 2–3 in (5–8 cm) apart and closer on curves. Add a hole at the start and end of each segment for the wires to pass through, and two near the top corners for hanging.
Clamp the sheet flat on scrap wood and drill slowly, with light pressure. Small holes, around 1/8 in (3 mm), are enough for thin zip ties; the wire holes need to be a little bigger. Peel the paper only when all the drilling is done.
Step 3: Cut and shape the neon
Lay the tube along the drawing to find each segment’s length, then cut it only at the black marks. A cut anywhere else leaves a dead section at the end. Cut each segment a little long rather than short; the next mark is only 1 cm away.
Work one segment at a time from its powered end. Bend it gently along the line, holding the shape with your fingers or a few pieces of tape, and check it from the front. Flat silicone neon bends more easily in one direction than the other, so test which way the curves come out smooth before you commit.
Step 4: Wire the jumps between letters
Every separate segment needs power: + to + and − to −, always following the same direction along the tube.
- At the cut end of a segment, carefully trim back a few millimeters of silicone to expose the copper pads of the strip inside.
- Solder a short red/black jumper to the pads, or use one of the connecting wires that come with the neon.
- Push the jumper through the wire hole in the acrylic and run it behind the panel to the next segment.
- Test each segment with power before you seal anything, then cap the open ends with the included end covers and a dab of clear silicone.
Where a lit line would cross a part of the design that should stay dark, you can also let the tube run through and paint that short section on the front with opaque black paint, a common trick for connecting letters.
Step 5: Fix the neon to the panel
Thread a zip tie down through one hole, around the tube and up through its partner, and close it behind the panel. Pull it snug but not tight, because squeezing the silicone can dent the line. Start at the middle of each segment and work outward, then trim every tail flush.
Use a few of the clips that come with the neon on long straight runs if you prefer. Gather the jumpers on the back with more ties so nothing hangs loose.
Step 6: Power, dim and hang
The chain is simple: wall supply → dimmer → sign. The dimmer takes the supply’s barrel plug in its input socket. On the output, the sign’s main power leads go into the screw-terminal adapter, red to +, black to −.
- Check the current. Lamomo lists the full 16.4 ft reel at 36 W, about 7 W per meter, so a 2 m sign draws around 14 W. That’s well within both the dimmer’s roughly 2 A rating and the 5 A supply.
- Run it on the bench first. Leave the sign on for an hour and touch the tube and the joints. Warm is fine; hot means a bad joint or a short.
- Hang it by the corner holes on two small hooks or with clear fishing line, and route the cable down behind furniture.
Safety basics: the sign itself runs on 12 V, but the wall supply is a mains device: keep it dry, ventilated and out of reach of small children, and use it indoors. Insulate every soldered joint, keep wires away from sharp acrylic edges, and don’t hang the sign where curtains or bedding can press against the power brick. Switch it off with the remote when you go out.
What it costs in time: an evening to design and drill the panel, an hour or two to cut, wire and test the neon, and half an hour to fix and hang it. The parts for steps 2 to 6 are below.
At a glance
6 picksAs an Amazon Associate I earn from qualifying purchases. If you buy through a link on this page we may earn a small commission, at no extra cost to you. How this works.
Duco Clear Cast Acrylic Sheet, 1/8 in, 12 × 24 in
Clear cast acrylic that drills cleanly and almost vanishes on the wall.
A clear back panel is the standard way to build a neon-style sign at home: the light tube is tied to the front, the wiring runs behind, and on the wall the panel almost vanishes. Cast acrylic is the better choice for this, because a drill bit tends to grab and crack extruded sheet more easily.
The protective paper is the other reason it works well for a first sign. You can print or trace the lettering, tape it on, mark every hole, and drill through the paper while it protects the surface from scratches.
Pro tip Drill acrylic with the sheet clamped flat on scrap wood, at low speed and light pressure. Start with a small pilot hole, and slow down just before the bit breaks through, when chips are most likely.
Why we like it
- ✓Cast acrylic, which drills and laser-cuts more cleanly than extruded sheet, per the listing
- ✓Protective paper on both sides — draw the layout and drill right through it
- ✓12 × 24 in fits a short name or word; other sizes are on the same listing
- ✓UV-stable for long-term clarity, Duco says
Keep in mind
- !Real size is a little under nominal (about 11 7/8 × 23 7/8 in), with ±1/8 in cut tolerance
- !1/8 in is thin; a long sign can flex when you hang it from two points
- !Scratches easily once the paper is off
- Material
- Cast acrylic
- Thickness
- 1/8 in (3 mm)
- Size
- 12 × 24 in nominal
- Color
- Clear
- Pack
- 1 sheet
Lamomo LED Neon Rope Light, 12 V, Warm White, 16.4 ft
A slim 12 V neon tube you can cut every centimeter and bend into letters.
Neon rope is an LED strip sealed inside a milky silicone tube. The silicone spreads the light so the tube glows as one smooth line, which is what makes a homemade sign look like glass neon rather than a string of dots. This one is 6 mm wide on the lit face, slim enough for handwritten letters around 4 in (10 cm) tall.
The useful detail for sign making is the 1 cm cut interval. Many neon ropes can only be cut every few inches, which forces you to end a letter early or let it run past. Here a stroke can stop close to where the design ends, and the offcut is still usable for the next letter.
Pro tip Before you plan the whole sign, cut a short test piece at a black mark and bend it around a coin, a cup and a jar lid. The tightest curve that still looks smooth tells you how small your letters can be.
Why we like it
- ✓Cut points every 0.39 in (1 cm), so a letter can end almost exactly where you want it
- ✓6 × 12 mm silicone housing bends almost 180°, Lamomo says, and stays where you put it
- ✓Even, dotless glow from 600 LEDs over 16.4 ft, 3000K warm white
- ✓Comes with 10 clips, 10 connecting wires and 10 waterproof end covers
Keep in mind
- !No power supply and no dimmer in the box
- !No adhesive backing; it has to be held with clips or ties
- !Joining cut pieces means wiring at the cut ends, which is fiddly the first time
- Length
- 16.4 ft (5 m)
- Voltage
- 12 V DC
- Size
- 6 × 12 mm
- LEDs
- 600 per reel
- Cut interval
- 0.39 in (1 cm)
- Color temperature
- 3000K warm white
- Power
- 36 W for the full reel, per listing
- Protection
- IP65
- Model
- LUS1
TUOFENG 22 AWG 2-Conductor Red/Black Wire, 100 ft
Red and black wire for the hidden jumps between letters.
A neon sign is rarely one continuous line. Where the light has to jump from the end of one letter to the start of the next, the tube is cut and the two pieces are joined behind the panel with a short pair of wires. Red and black cable that stays together makes those jumpers neat and keeps polarity mistakes away.
22 AWG is a comfortable size for this: thin enough to solder onto the small pads inside a neon tube, and well above the current of a sign a few feet long, which is usually a fraction of an amp per section.
Pro tip Cut every jumper a little longer than the path behind the panel and tin both ends before you solder. Then test the section with power before you seal the joint; a dead letter is much easier to fix while the end is still open.
Why we like it
- ✓Red and black joined in one cable — polarity is obvious at every joint
- ✓Stranded tinned copper, flexible and quick to solder
- ✓The two conductors pull apart where you need them separate
- ✓100 ft spool, enough for many signs and strip projects
Keep in mind
- !PVC jacket rated to 80 °C (176 °F), softer and less heat-proof than silicone wire
- !100 ft is far more than one sign needs
- Gauge
- 22 AWG
- Conductors
- 2 (red, black), parallel
- Strands
- 17, tinned copper
- Insulation
- PVC, 300 V, 80 °C
- Length
- 100 ft
- Max current
- 3.5 A, per listing
HS 4 in Mini Zip Ties, Natural White, 1000 Pack
Thin natural-white ties that hold the tube without showing in the glow.
Small zip ties are the simplest way to hold neon rope on a drilled panel. Each tie goes down through one hole, up through its neighbor and closes behind the panel, so the lock and the cut tail are hidden at the back. Only a thin band crosses the tube at the front.
Natural white nylon is a good match for this. Over a lit tube a black tie reads as a gap in the line; a milky white one mostly blends into the glow.
Pro tip Pull each tie snug, not tight. Squeezing the silicone tube can leave a dent or a darker spot in the line. Cut the tails flush with flush-cut pliers so no sharp ends scratch the wall.
Why we like it
- ✓0.1 in (2.5 mm) wide — threads through small holes and stays discreet in front of the light
- ✓Natural nylon 66 color, close to the milky look of a neon tube
- ✓18 lb tensile strength, plenty for a light tube
- ✓1000 pieces; a sign uses dozens, and spares cost nothing to waste
Keep in mind
- !Not truly transparent; the ties are visible up close
- !Single-use — a misplaced tie has to be cut off
- Length
- 4 in (100 mm)
- Width
- 0.1 in (2.5 mm)
- Max bundle
- 0.87 in (22 mm)
- Tensile strength
- 18 lb
- Material
- Nylon 66, UL 94V-2
- Count
- 1000
LEDMO 12 V 5 A (60 W) Power Supply, UL Listed
A UL-listed 12 V supply with room to spare.
A short name sign draws far less than 60 W, so this supply is more than the minimum. The extra capacity is useful: it runs cool, it can power the whole 16.4 ft reel if you later turn the offcuts into a second sign, and it matches the 12 V 3–5 A supply the Lamomo neon listing recommends.
The UL listing matters for something that will hang on a wall and often stay on for hours in a bedroom or a kid’s room. The brick itself is plain: AC cord in, barrel plug out, which goes straight into the dimmer’s input socket.
Pro tip Before you connect the sign, measure the barrel plug with a multimeter: the center should read +12 V. Then plug it into the dimmer, never directly onto wires you’re still soldering.
Why we like it
- ✓12 V DC at up to 5 A (60 W), within the 3–5 A range Lamomo recommends for its neon rope
- ✓UL listed, per the listing
- ✓Detachable AC cord and a barrel-plug output
- ✓Universal 100–240 V AC input
Keep in mind
- !Indoor only (IP20); keep it dry and out of enclosed spaces
- !A desktop brick on a cord, so it needs a place to hide behind or below the sign
- Input
- 100–240 V AC
- Output
- 12 V DC, 5 A (60 W max)
- Protection
- IP20 (indoor)
- Connector
- Barrel plug
- Model
- HTY-1200500
BTF-LIGHTING Mini RF Dimmer with 14-Key Remote (Single Color)
An inline dimmer and remote, from full glow down to night light.
A sign that looks right in a lit room is often too bright at night. An inline dimmer fixes that without changing any wiring: it sits between the power supply and the sign, and the remote sets the level. The RF receiver doesn’t need line of sight, so the box can be hidden behind the panel.
The included screw-terminal adapter is the practical part. The neon’s power leads are bare wires; screwed into the adapter, they plug onto the dimmer’s output with no soldering at that end.
Pro tip Watch the current rating. Lamomo lists its full 16.4 ft reel at 36 W, about 7 W per meter, so 2 A at 12 V covers roughly 3 m (10 ft) of tube. A typical name sign is well under that.
Why we like it
- ✓Brightness from 10% to 100%, with one-touch keys for 10/20/40/60/80/100%
- ✓RF remote works without pointing at the receiver, up to about 65 ft (20 m) in the open, per the listing
- ✓DC socket in, DC plug out, plus a screw-terminal adapter for bare wires
- ✓60-second delay-off key and jump, fade and strobe modes
Keep in mind
- !Rated at about 2 A, so keep the sign to roughly 10 ft (3 m) of this neon
- !Single color only; it can't control RGB strips
- !The remote is small and easy to lose
- Input
- 5, 12 or 24 V DC
- Output current
- 2 A per channel (see note)
- Remote
- 14-key RF
- Range
- Up to 20 m (65 ft) in open space, per listing
- Modes
- Dimming, jump, fade, strobe, 60 s delay off
- Model
- RF14keys