Build a Pocket Cyberdeck: A Raspberry Pi Handheld
A Raspberry Pi, a 7-inch touchscreen, a power bank and a printed shell — the weekend build behind this year's viral cyberdecks, step by step.
Published October 20, 2026 · 7 picks
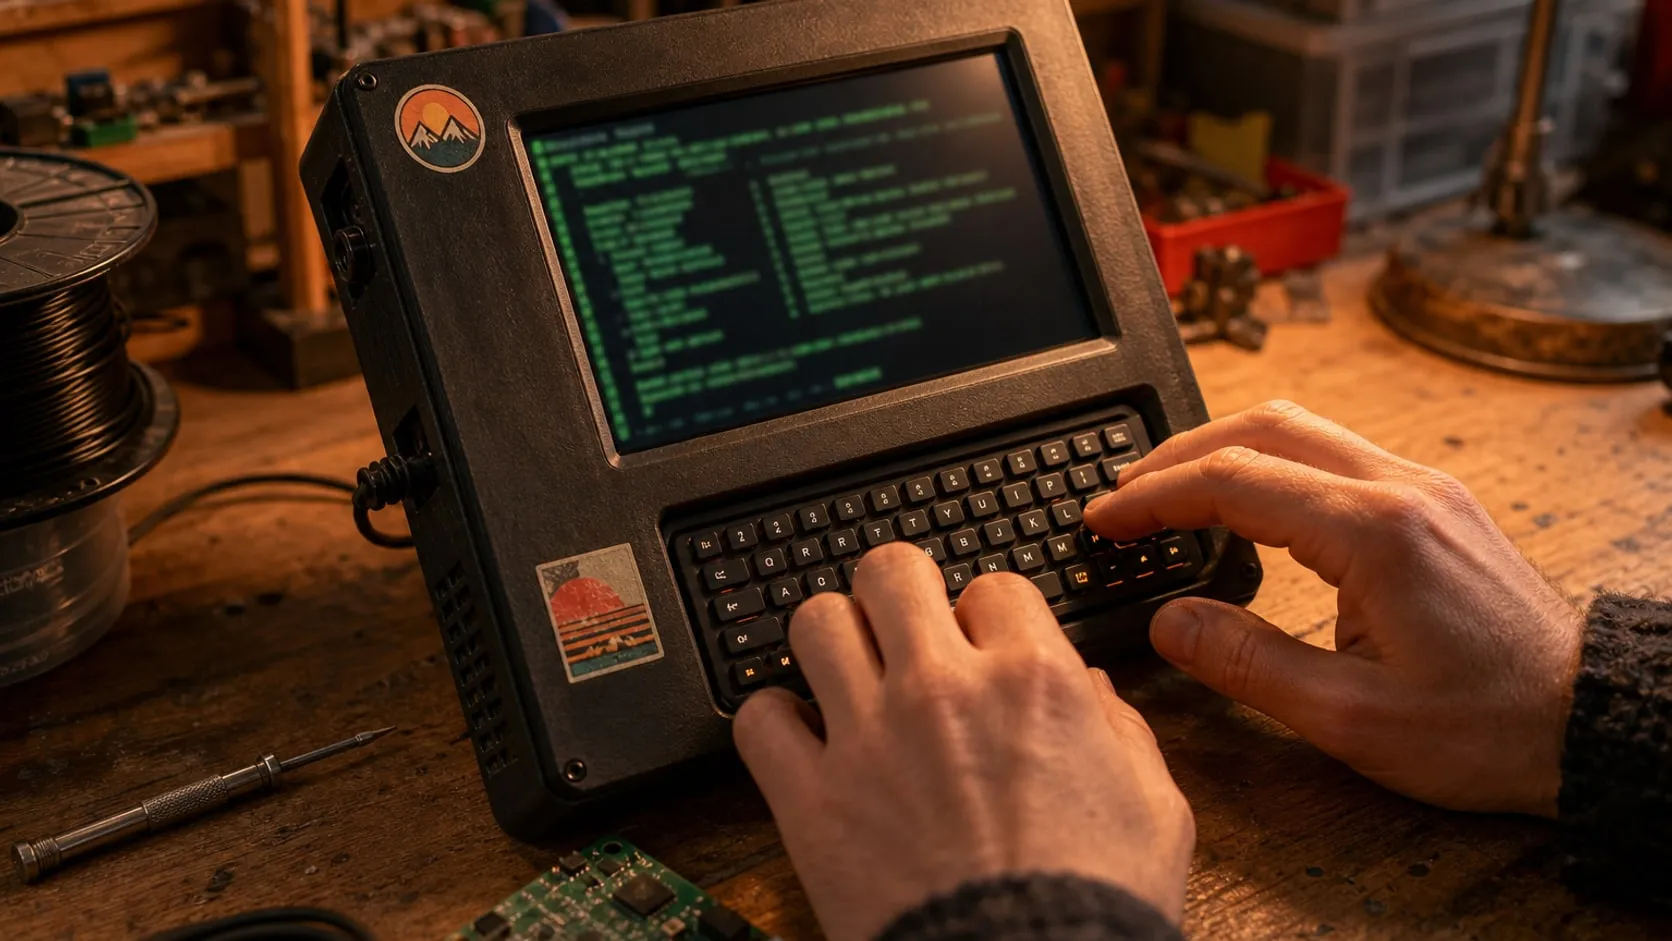
A cyberdeck is a portable computer you build yourself, and this year they’re everywhere on TikTok and YouTube. Makers fit them into thrifted lunchboxes, old purses, ammo cans and 3D-printed shells. Under the decoration, most of them are the same five parts: a Raspberry Pi, a small screen, a battery, a keyboard and a case. Here’s how to put those together in a weekend.
Step 1: Set up the Pi before you build anything
Do all the software work while the Pi is still a bare board on the desk, with a normal monitor or over the network.
- Flash Raspberry Pi OS to the microSD card with Raspberry Pi Imager on a laptop.
- In Imager’s settings, add your Wi-Fi, a username and SSH, so you can log in from another computer.
- Boot the Pi, run the updates, and install what you want the deck for: a terminal, a code editor, a browser, an emulator, an offline Wikipedia or a notes app.
Fixing a software problem now is easy. Fixing it later inside a sealed case isn’t.
Step 2: Fit the cooler
A Pi 5 in a closed box gets hot and slows itself down. Press the active cooler’s push pins into the board’s mounting holes and plug the fan into the FAN connector. Then measure the total height of the board plus cooler; you’ll need it when you design or pick the case.
Step 3: Mount the screen
Bolt the Pi to the back of the 7-inch display with the included standoffs, then connect:
- Video: micro HDMI on the Pi → HDMI on the screen. A short right-angle or flat cable keeps the back thin.
- Touch and power: micro USB from the screen to the power bank (or to a Pi USB port for touch only).
Boot it and check that touch works and the picture fills the screen. In the display settings, scale the desktop up a step, because small text is hard to read at 1024 × 600.
Step 4: Plan the power
Use a sealed power bank instead of bare LiPo cells for your first deck. Bare cells need a protection circuit, a charger and careful wiring, and a damaged LiPo can catch fire. A power bank has all of that built in.
- Pi 5 → the power bank’s built-in USB-C cable.
- Screen → the second USB port.
- The Pi 5 wants 5 A for full USB power. On a 3 A power bank it still runs fine, but keep USB accessories to a minimum, which is why the keyboard below is wireless.
Safety: don’t charge the power bank inside a closed case or in a hot place, and stop using any battery that swells, gets hot or smells.
Step 5: Add the keyboard
Pair the mini keyboard over Bluetooth, or plug in its 2.4 GHz dongle so it works from the moment the Pi boots. Most pocket decks give it a recess below the screen, held with magnets or Velcro, so it lifts out for comfortable typing.
Step 6: Build the case
This is where the deck becomes yours. Three common routes:
- Print a shell. Search Printables, Thingiverse or MakerWorld for “cyberdeck 7 inch”. Many designs fit this kind of screen and a Pi. Print in PLA+ with thick walls around the screw posts.
- Laser-cut plywood or acrylic for a boxy, retro-terminal look.
- Upcycle a container — a lunchbox, a hard-shell case or a vintage radio. Cut a window for the screen and vents for the fan.
Whichever you choose, leave room for airflow (an intake above the fan, an exit on the far side), keep the microSD slot and charge port reachable, and test-fit everything before the final screws go in. Then decorate it: stickers, paint, a strap, a pattern on the lid. That’s half the fun of a cyberdeck.
What it takes: an evening for software, an evening for assembly, and a day of printing for the shell. The parts for each step are below.
At a glance
7 picksAs an Amazon Associate I earn from qualifying purchases. If you buy through a link on this page we may earn a small commission, at no extra cost to you. How this works.
Raspberry Pi 5 (8 GB)
A full Linux computer the size of a credit card, fast enough for a desktop.
Every cyberdeck starts with the same part: a small computer that boots a full operating system from a memory card. The Raspberry Pi 5 is the current flagship of the line, and its speed is what makes a handheld deck feel like a computer rather than a toy. A browser, a terminal and a text editor can stay open together on 8 GB of RAM.
Wi-Fi and Bluetooth are on the board, so a deck built around it needs only a screen, a keyboard and power. The trade-off is heat and current: the Pi 5 draws more than older models and gets hot in a closed box, which is why the cooler and battery picks in this guide matter as much as the board.
Pro tip On battery power, add
usb_max_current_enable=1toconfig.txtonly if your supply can really deliver 5 A. With a 3 A power bank, leave it off and use a wireless keyboard instead of power-hungry USB devices.
Why we like it
- ✓Quad-core Arm Cortex-A76 at 2.4 GHz
- ✓8 GB LPDDR4X RAM — room for a desktop, browser and several apps
- ✓Wi-Fi (802.11ac) and Bluetooth built in, so the deck works without cables
- ✓Two micro HDMI outputs, USB 3.0 and USB 2.0 ports, Ethernet
- ✓PCIe connector for an NVMe SSD later, with an adapter
Keep in mind
- !Runs hot under load — plan on a cooler inside a closed case
- !Wants a 5 V / 5 A supply for full USB power; on a 3 A battery the USB ports are limited, so keep accessories low-power
- !Micro HDMI, not full-size — you need the right cable or adapter for most screens
- CPU
- Quad-core Arm Cortex-A76, 2.4 GHz
- GPU
- VideoCore VII, 800 MHz
- RAM
- 8 GB LPDDR4X
- Wireless
- Wi-Fi 802.11ac, Bluetooth
- Video out
- 2 × micro HDMI (4Kp60)
- Power input
- USB-C
- Board size
- About 3.4 × 2.2 in (85 × 56 mm)
- Model
- SC1112
SanDisk Extreme microSDXC 128 GB with Adapter
An A2 card for the OS, flashed on a laptop before anything is assembled.
The Raspberry Pi has no built-in storage: the operating system, your apps and your files all live on the microSD card. An operating system mostly does many small reads and writes, and that’s what the A2 rating measures, so an A2 card makes the desktop feel snappier than an older, slower card.
Use the included adapter to flash Raspberry Pi OS from a laptop with Raspberry Pi Imager, then slide the card into the board. In a closed case, make sure the slot is still reachable, or you’ll be taking the deck apart every time you want to reinstall.
Pro tip In Raspberry Pi Imager, set your Wi-Fi, username and SSH before writing the card. The deck then boots straight onto your network, and you can finish setting it up from another computer before the screen is even mounted.
Why we like it
- ✓A2 rating for fast small reads and writes — what an OS does most
- ✓U3, V30, Class 10 speed classes
- ✓128 GB leaves room for the OS, apps and files
- ✓SD adapter included for flashing on a laptop
Keep in mind
- !The 190 MB/s headline needs SanDisk's own reader; a Pi reads slower
- !A card is still slower and less durable than an NVMe SSD for heavy use
- !Easy to lose — a microSD slot on the edge of a case needs a cover
- Capacity
- 128 GB
- Speed class
- Class 10, U3, V30, A2
- Read speed
- Up to 190 MB/s (SanDisk, with QuickFlow reader)
- Write speed
- Up to 90 MB/s
- Includes
- SD adapter
- Model
- SDSQXAA-128G-GN6MA
Raspberry Pi 5 Active Cooler (Official)
Keeps the Pi from slowing itself down inside a closed case.
Inside a sealed box with a screen bolted to the front, a Raspberry Pi 5 gets hot quickly, and when it does, it slows itself down. A cooler keeps the deck responsive. This is the one Raspberry Pi makes for the Pi 5: a finned aluminium heatsink over the processor with a small blower fan that only spins up when needed.
It clips into the board’s mounting holes and plugs into the dedicated fan connector, so there’s no wiring to work out. The thing to design around is airflow: give the blower an intake and an exit in the case.
Pro tip Put a vent slot right above the fan and another near the USB ports on the far side. Air drawn across the board and pushed out the other end keeps both the processor and the power circuitry cooler.
Why we like it
- ✓Single-piece anodised aluminium heatsink
- ✓Temperature-controlled blower fan — quiet at idle
- ✓Spring-loaded push pins, no tools or drilling
- ✓Thermal pads already applied
- ✓Plugs into the Pi 5's own fan header
Keep in mind
- !Adds height — check clearance between the board and the back of your case
- !Push pins are meant to go on once; removing it can leave the pads damaged
- !The blower needs an air path — cut vents in the case, or it just recirculates hot air
- Fits
- Raspberry Pi 5
- Heatsink
- Anodised aluminium, one piece
- Fan
- Temperature-controlled blower, 4-pin header
- Mounting
- Spring-loaded push pins
- Weight
- 20 g
- Model
- SC1148
ROADOM 7" Touchscreen Monitor for Raspberry Pi (1024 × 600)
A 7-inch touchscreen with the Pi bolted to its back.
A cyberdeck lives or dies by its screen. It sets the size of the case, the power budget and how usable the whole thing is. Seven inches is the common sweet spot: big enough for a terminal and a browser, small enough to carry in a bag. This one is made for the Pi, with four mounting holes on the back so the board bolts on behind the panel.
Touch works over the same micro USB cable that powers the screen, so on Raspberry Pi OS there’s nothing to install. Plan the cable route early: a right-angle micro HDMI cable from the Pi to the screen keeps the back of the deck flat and stops the plug from straining the connector.
Pro tip Peel off the factory screen protector before you fit the panel into the case. The listing says touch responds better without it, and it’s much harder to remove once the bezel is on.
Why we like it
- ✓1024 × 600 IPS panel with wide viewing angles
- ✓5-point capacitive touch, no driver needed on Raspberry Pi OS
- ✓Raspberry Pi mounts directly on the back with the included kit
- ✓Comes with HDMI and micro USB cables, a GPIO power cable and a 5 V adapter
- ✓Detachable stands for bench use
Keep in mind
- !Uses full-size HDMI — the Pi 5 needs a micro HDMI cable or adapter (a short, flat one fits a case best)
- !1024 × 600 is low for small text; scale the desktop up a step
- !Touch and power run over micro USB, an older connector than the rest of the build
- Screen
- 7 in IPS, 1024 × 600
- Touch
- 5-point capacitive
- Inputs
- HDMI (video), micro USB (power + touch)
- Contrast
- 700:1
- Viewing angle
- 178°
- Size
- About 6.5 × 4.8 × 0.5 in
- Weight
- 8.3 oz (236 g)
- Model
- Z3-7
Anker Nano Power Bank 10,000 mAh, 30 W, Built-in USB-C Cable
Sealed, protected battery power with no bare LiPo wiring.
Many cyberdeck videos show bare LiPo cells and boost boards. They work, but a punctured or overcharged LiPo is a real fire risk, and wiring one is not a weekend-beginner job. A good power bank does the same thing with charging, protection and a fuel gauge already sealed inside. Strap it into the case and the deck is portable.
The built-in USB-C cable plugs into the Pi, and the second port can power the screen. A Pi 5 at 5 V and 3 A runs a desktop, browser and terminal fine; it just limits power to USB devices, so use a wireless keyboard.
Pro tip Mount the power bank so its display and charge port face out through a cut-out in the case. You can then check the charge and top it up without opening the deck.
Why we like it
- ✓10,000 mAh in a pocket-sized block (about 4.1 × 2.1 × 1 in)
- ✓Built-in USB-C cable goes straight into the Pi — one less loose cable
- ✓Extra USB-C and USB-A ports for the screen
- ✓30 W fast recharging, Anker says about 50% in 45 minutes
- ✓Display shows the remaining charge
Keep in mind
- !Delivers up to 3 A at 5 V — enough for the Pi 5 at a reduced USB budget, not its full 5 A
- !Not a UPS — unplug it to recharge separately and the deck shuts down
- !Some power banks switch off at very low draw; an idle deck may need a tap on the button
- Capacity
- 10,000 mAh
- Max output
- 30 W
- Ports
- Built-in USB-C cable, 1 × USB-C, 1 × USB-A
- Cell type
- Lithium polymer
- Size
- 4.09 × 2.06 × 1.02 in (10.4 × 5.2 × 2.6 cm)
- Model
- A1259
Rii i4 Mini Keyboard with Touchpad (Bluetooth + 2.4 GHz)
Keyboard and touchpad in one wireless, rechargeable block.
A cyberdeck needs input, and a full keyboard defeats the point of a pocket build. A mini keyboard with a touchpad covers both typing and pointing, and because it’s wireless and charges itself, it takes no current from the Pi’s USB ports — useful when the whole deck runs from a 3 A power bank.
Pair it over the Pi’s built-in Bluetooth, or plug the 2.4 GHz dongle in for a connection that works from the moment the Pi boots. Many builders mount it in a recess below the screen with magnets or Velcro, so it lifts out for couch-style typing.
Pro tip Use the 2.4 GHz dongle while you set the deck up. It works at the login screen and in the boot menu, before Bluetooth has even started.
Why we like it
- ✓QWERTY keyboard and touchpad in one handheld unit
- ✓Bluetooth or 2.4 GHz USB dongle — switch with Fn + Tab
- ✓Rechargeable built-in battery, charges over USB
- ✓Backlit keys for use in the dark
- ✓Media and arrow keys for quick navigation
Keep in mind
- !Thumb-typing keys — fine for commands and notes, slow for long writing
- !One more battery to keep charged
- !Function-key combos take some learning
- Connection
- Bluetooth 4.0 or 2.4 GHz USB dongle
- Pointing
- Built-in touchpad
- Backlight
- Single color
- Battery
- Built-in rechargeable lithium-ion
- Model
- i4
eSUN PLA+ (PLA PRO) Filament, 1.75 mm, 1 kg, Black
Tougher PLA for a printed shell that survives being opened.
The case is where a cyberdeck gets its personality, and most builders print it. There are free cyberdeck shell designs on Printables, Thingiverse and MakerWorld, sized for 7-inch screens and the Pi. PLA+ is a good material for them: as easy to print as plain PLA, but less brittle, so screw bosses and snap-fit lids survive being opened again and again.
A 1 kg spool is enough for a full shell and several test prints. If you want a two-tone deck, the same line comes in over twenty colors with the same print settings.
Pro tip Print the screw posts with four walls or more and use M2.5 heat-set inserts instead of screwing straight into the plastic. The case will survive being opened dozens of times.
Why we like it
- ✓1.75 mm with ±0.03 mm diameter tolerance, eSUN says
- ✓Prints at 205–225 °C on any common FDM printer
- ✓Vacuum-sealed with desiccant
- ✓Over 20 colors in the same line, for two-tone cases
Keep in mind
- !Still PLA — it softens in a hot car, so don't leave the deck on a sunny dashboard
- !Black hides layer lines but also shows dust and fingerprints
- !Absorbs moisture once opened — store it sealed, or prints turn stringy
- Material
- PLA+ (PLA PRO)
- Diameter
- 1.75 mm ± 0.03 mm
- Weight
- 1 kg (2.2 lb)
- Nozzle temp
- 205–225 °C
- Spool
- 8 in diameter, 2.5 in wide, 2.05 in hub hole
- Part number
- IG-C-PLAPRO175B1