Laser-Engrave a Personalized Solid-Wood Cutting Board
A family name or a logo burned into a maple cutting board, masked, engraved and oiled food-safe — the six steps and the tools for each one.
Published October 7, 2026 · 6 picks
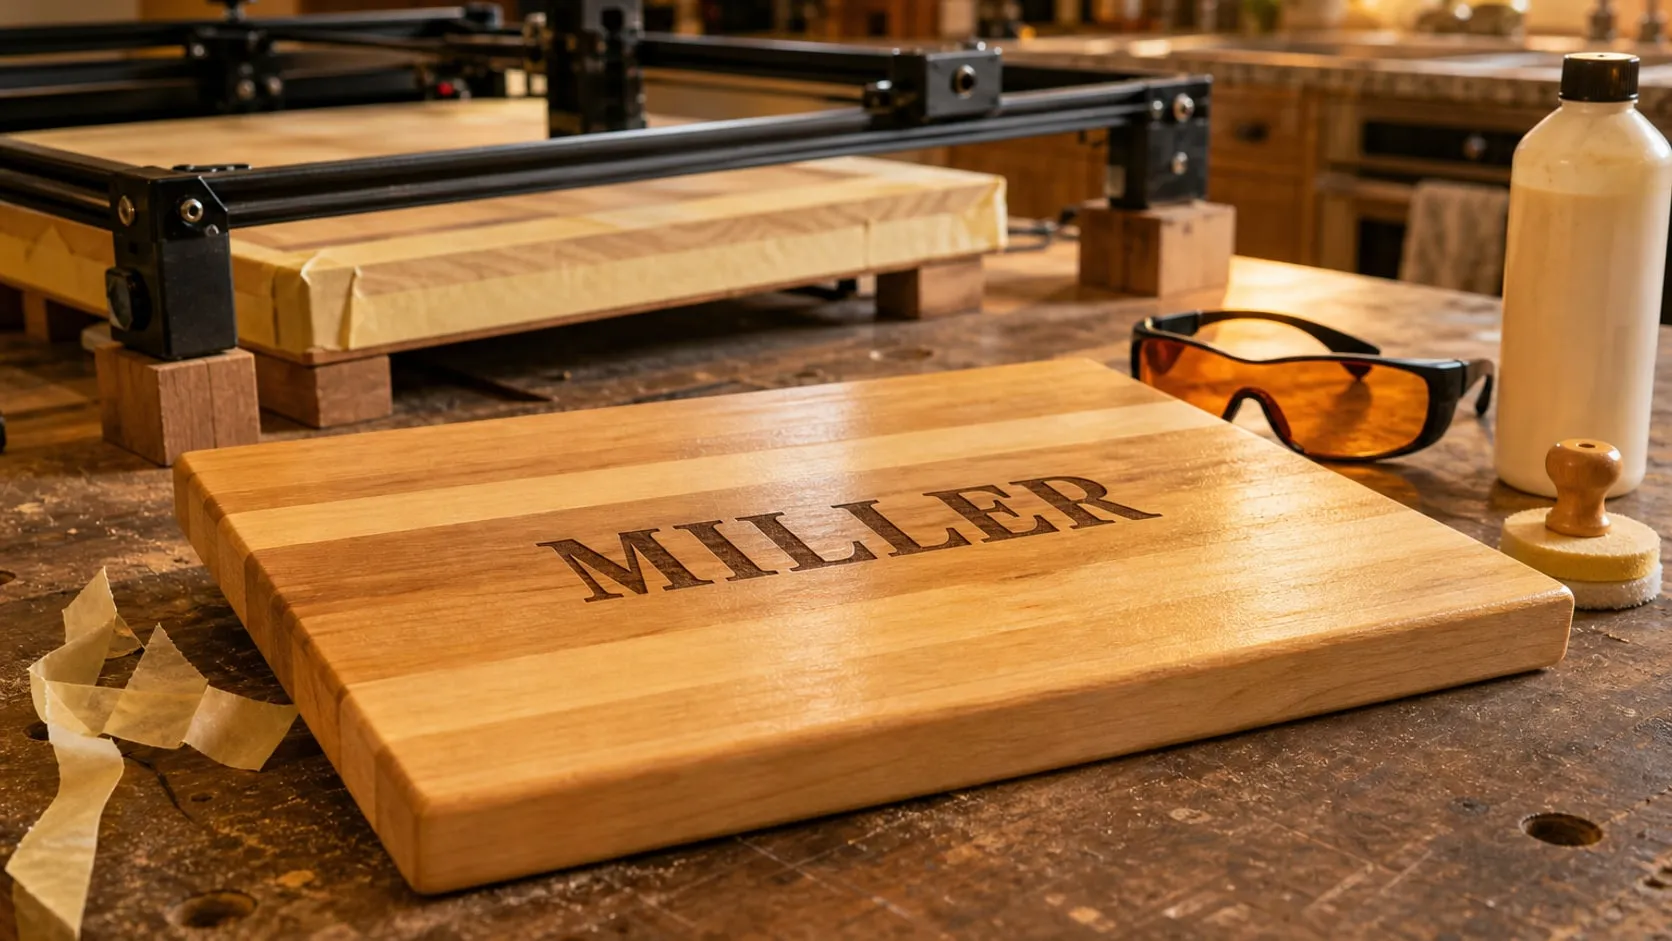
An engraved cutting board is one of the few gifts that gets used every day and still gets looked at. A family name across the middle, a monogram in the corner, or a small business’s logo on a serving board: the laser does the burning in under an hour, and the rest is choosing the right board and finishing it so it’s safe for food. Here’s the whole process, with the tools for each step below.
Step 1: Pick the board
The board decides how clean the engraving looks, so it’s worth being picky.
- Pale, tight-grained hardwood. Maple is the standard: it burns to an even brown and the grain stays quiet. Cherry and walnut work too, but walnut is dark, so the engraving shows less.
- Edge grain, not end grain. The checkerboard look of an end-grain board engraves in two shades, and the letters turn blotchy.
- Flat face, no juice groove where the design goes. A reversible board is ideal: one side gets the engraving and becomes the serving side, the other stays plain for chopping.
- A size the laser can reach. Only the design has to fit in the laser’s working area, but the board has to fit under or inside the machine. 16 × 10 in is the easy size for most desktop lasers.
Skip bamboo boards and anything glued up from strips of different woods for a first project; the glue lines and color changes show through the engraving.
Step 2: Design the engraving
LightBurn (paid, with a free trial) or LaserGRBL (free) both drive most diode lasers, and both have a text tool.
- Choose a bold font. Thin script fonts look elegant on screen and break into dashes on wood. A serif or a script with thick strokes holds up.
- Size it to the board. On a 16 × 10 in board, a name 8–10 in wide and 2–3 in tall reads from across the kitchen. Leave at least 1 in clear to every edge.
- Keep it to fill, not photos. A name, a date or a simple line logo engraves as solid areas and looks crisp. For a logo, start from a vector file (SVG, AI or a high-resolution PNG traced in the software).
- Center it on the serving side, or in a corner. A design in the middle of the chopping side gets cut up in a month. Many makers put a small monogram in a corner of the cutting side and the big design on the back.
Double-check every spelling. A name on a board is the one thing that can’t be fixed afterwards.
Step 3: Prep and mask the board
Wipe the face with a dry cloth to take off dust. Don’t oil the board before engraving: oil on the face burns unevenly and keeps the tape from sticking. If the factory finish feels oily, wipe it until the cloth comes away dry.
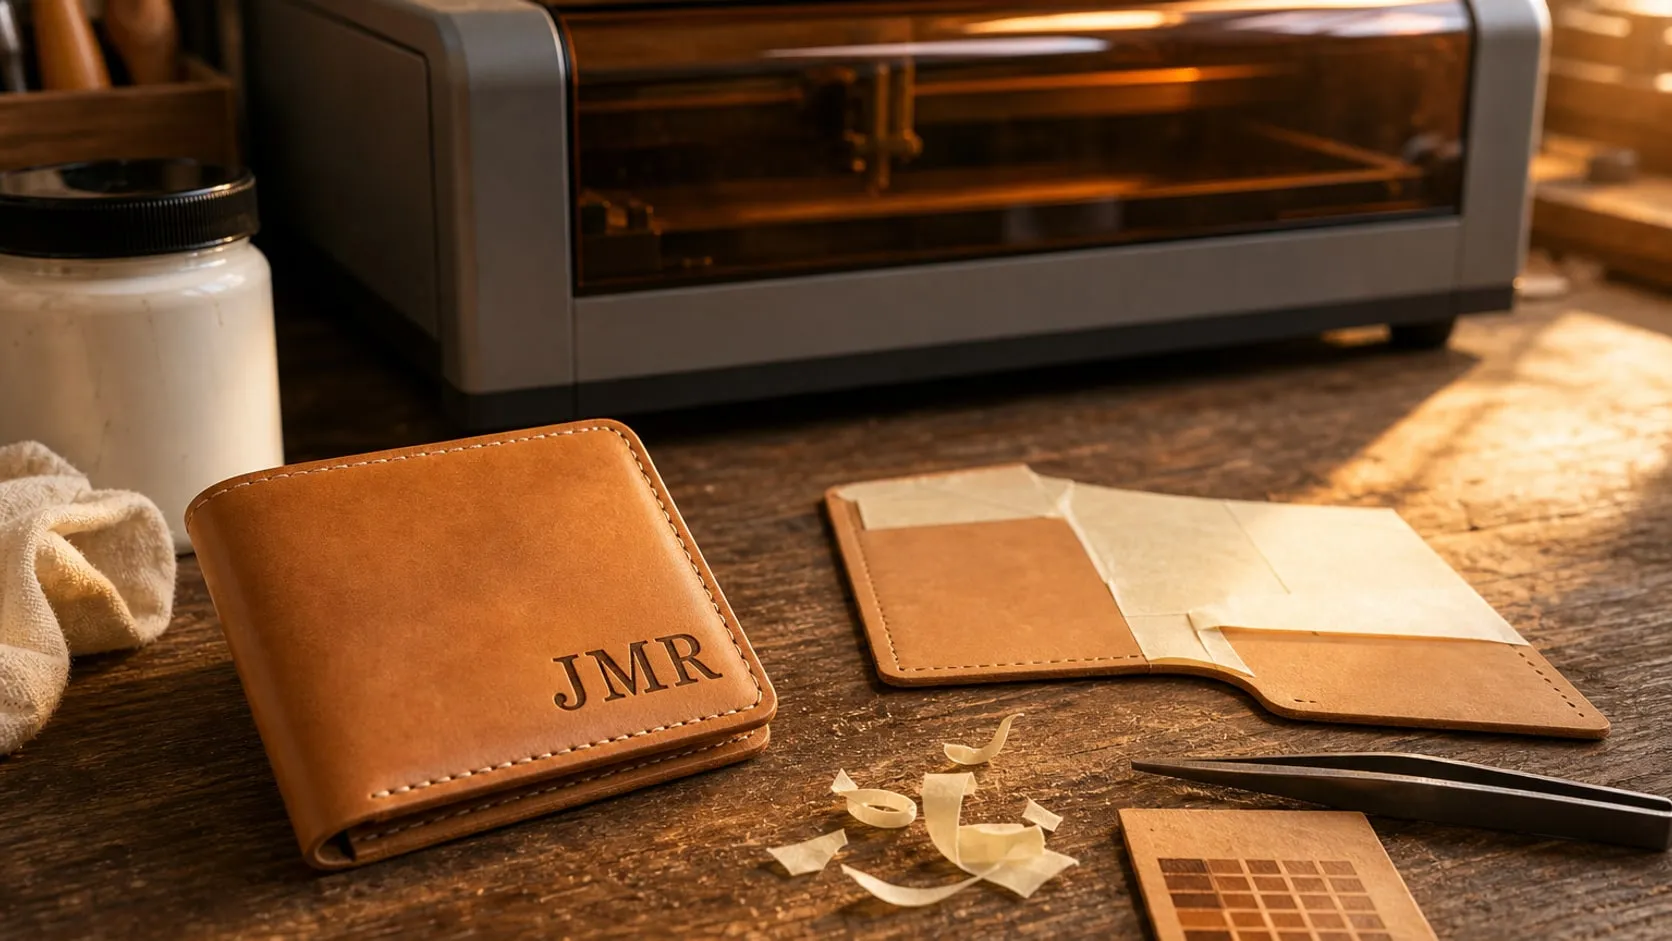
Then mask it. Lay paper transfer tape across the area to be engraved, overlapping strips by a few millimetres if one isn’t wide enough. Smooth it from the center out with a squeegee or a credit card, and press it down hard with a fingernail along the area where the letters will go. The laser burns through the paper where the design is; the smoke and resin stains that would have settled around the letters stay on the paper.
Step 4: Set up the laser safely
A desktop diode laser is a Class 4 device: the beam and its reflections can damage eyes in an instant, and wood burns. None of the setup below is optional.
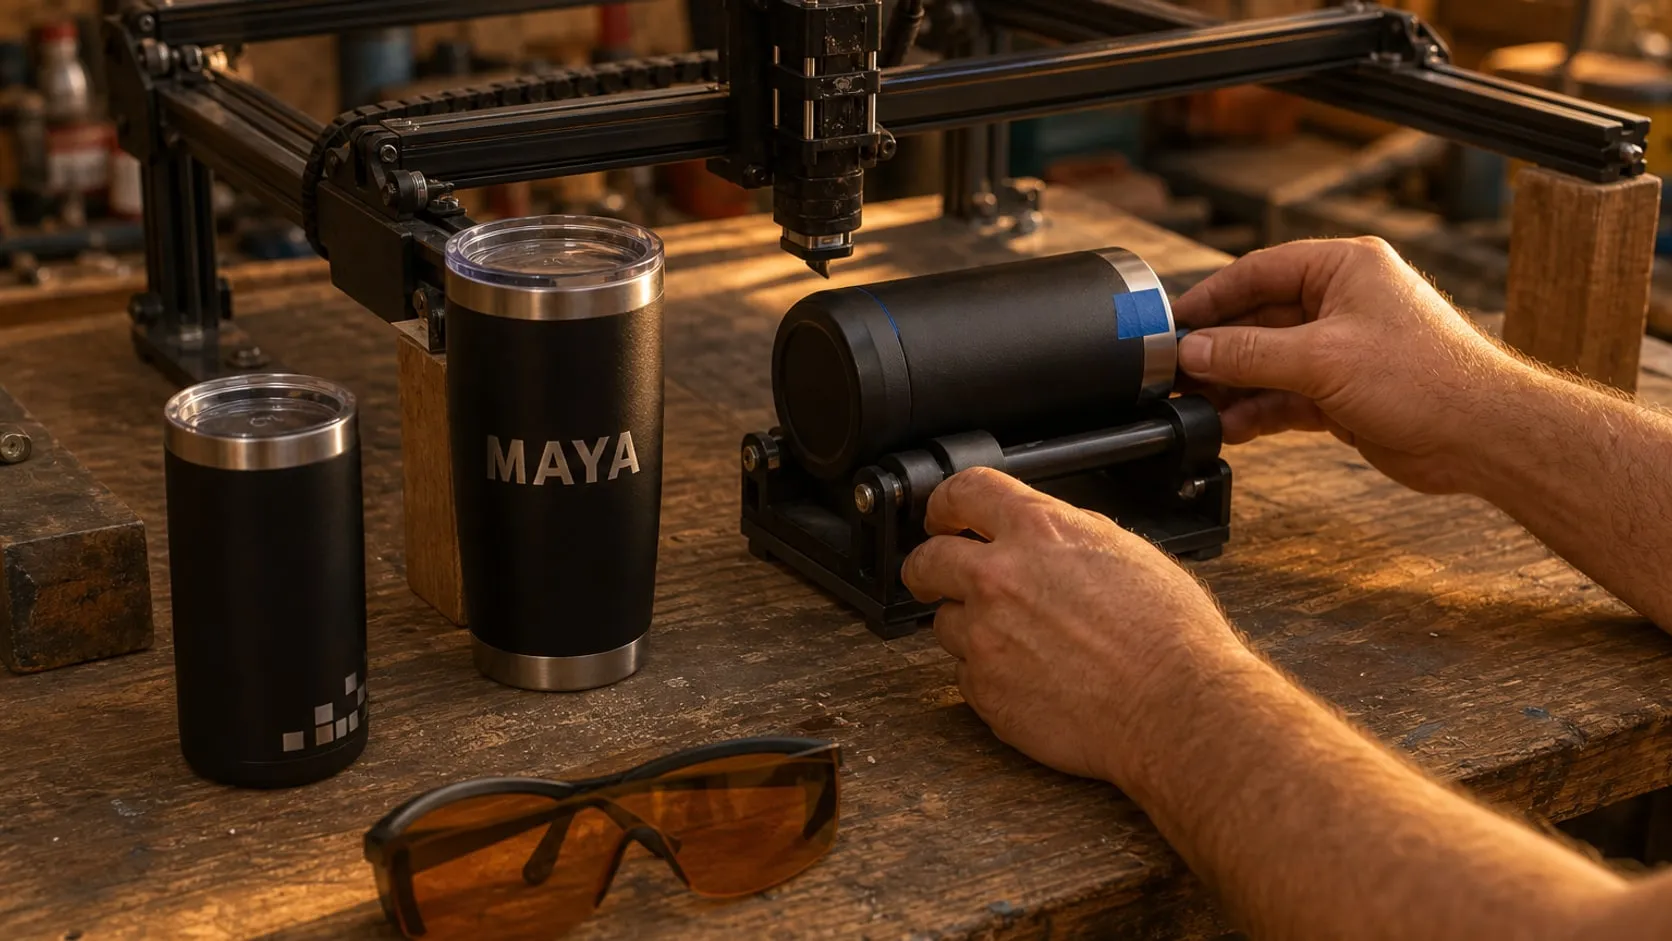
- Glasses rated for the laser’s wavelength, worn by everyone in the room from the moment the laser is armed. Blue diodes run around 445–455 nm; the glasses should state that range and an optical density.
- Fresh air. A window with a fan blowing out, or an enclosure with an exhaust hose. Hardwood smoke is not something to breathe.
- Never leave it running alone, and keep a fire extinguisher or a spray bottle of water within reach. The paper mask can catch a small flame; the job is to pause the laser and put it out before it spreads.
- Raise the laser for a thick board. A 1–1.25 in board is taller than the clearance under most open-frame machines. Set the laser on four identical blocks, slide the board under the frame and check it can’t move.
- Focus on the board’s surface, using the module’s spacer or focus gauge on top of the masking tape.
- Frame the job (the Frame button in LightBurn or the trace function on the machine) to check that the design lands where it should on the board, with the glasses on and the laser on its lowest setting.
Step 5: Test, then engrave
Every board is a little different, even from the same maker, so test first. The best spot is the board’s own underside, near an edge: same wood, same factory finish, same mask. Engrave a few 1 cm squares or a short word across a range of speeds and powers (LightBurn’s Material Test does this as a grid), then peel the tape off the test and look at it with the laser off.
- Pale and shallow? Slow down, add power, or run a second pass.
- Dark brown with a black, sooty edge? Too much power for the speed. Speed up first.
- Uneven, some letters darker than others? The board isn’t level, or the focus is off. Check the blocks.
Most makers aim for a rich, even mid-brown with a slight depth to it, not a deep black char: char rubs off and stains the first thing it touches. A clean name on maple usually comes from a fill at 0.1 mm line interval, run once or twice.
Then engrave the real design with the same settings and focus. Stay with the machine, watch the paper for small flames, and don’t touch the board until the head has parked.
Step 6: Peel, clean and finish it food-safe
- Peel the mask slowly, starting from a corner. Tweezers lift the paper out of the small islands inside letters like a, e and o.
- Clean the engraving. A soft toothbrush and a slightly damp cloth take loose char out of the letters. If the edges still look fuzzy, a light pass with 220-grit sandpaper on a flat block cleans up the face without rounding the letters. Let it dry.
- Oil it. Flood the board, both sides and all the edges, with food-grade mineral oil, and brush a little extra into the engraving. Let it soak in for 20 minutes to a few hours, then wipe off what’s left.
- Seal it. Rub a thin coat of board cream over the whole board, work it into the letters with a small brush, let it sit, and buff it off with a clean cloth. Brush any white wax out of the letters before it hardens.
- Let it cure overnight before wrapping it.
Food safety: mineral oil and beeswax are the standard food-safe board finishes. The engraving itself is a shallow, burned recess, which is why it belongs on the serving side or a corner rather than where a knife and raw meat will spend their time. Add a care note to the gift: hand wash, dry standing up, oil it again when it looks dry.
What it costs in time: an hour to design and prep, half an hour for the test, 20–60 minutes of engraving depending on the design’s size, and an evening for finishing and curing. The tools for each step are below.
At a glance
6 picksAs an Amazon Associate I earn from qualifying purchases. If you buy through a link on this page we may earn a small commission, at no extra cost to you. How this works.
John Boos Chop-N-Slice Maple Cutting Board
Flat, reversible edge-grain maple with no juice groove to design around.
A cutting board is only as good a blank as its face is flat and plain. Maple is the usual choice for engraving because it’s pale and tight-grained: the laser darkens it to an even brown, and the letters don’t have to compete with bold grain lines. Edge grain also stays more stable than a glued-up end-grain checkerboard, which the laser would engrave in two different shades.
The Chop-N-Slice has no juice groove and two flat faces. That makes the design simple: the engraving goes on one side, which becomes the serving and display side, and the other face stays plain for everyday cutting.
Pro tip Only the design has to fit inside the laser’s working area, not the whole board. Before ordering, check that the board fits between the laser’s frame rails, or plan to raise the machine on blocks so the board slides under the frame. A 16 × 10 in board with a design about 8 in wide is the easy combination for most diode lasers.
Why we like it
- ✓Hard maple, pale and fine-grained, so an engraving reads as a crisp dark brown
- ✓Edge-grain construction with a flat face and no juice groove to work around in the design
- ✓Reversible, so the engraved side can be the serving side and the other side takes the knife work
- ✓Several sizes on one listing, from 10 × 5 in up to 20 × 15 in
- ✓Made in the USA, with eased corners and an oil finish from the factory
Keep in mind
- !The factory oil can darken unevenly under the laser — a test on the back corner comes first
- !At 1–1.25 in thick it sits higher than a sheet of plywood, so the laser has to be raised or refocused
- !The 20 × 15 in board is heavy (10 lb) and wider than most diode laser frames; 16 × 10 in is the easier size
- Wood
- Hard maple, edge grain
- Sizes on the listing
- 10 × 5, 10 × 10, 16 × 10, 18 × 12, 20 × 15 in
- Thickness
- 1–1.25 in (25–32 mm), depending on size
- Juice groove
- None, reversible
- Care
- Hand wash only
- Made in
- USA
- Model
- Chop-N-Slice (214 = 20 × 15 in)
TapeManBlue Paper Transfer Tape, 12 in × 100 ft
A 12 in paper mask that catches the smoke stains and peels off with them.
Engraving hardwood throws off smoke and resin, and some of it settles around the letters as a yellow-brown halo. On a pale maple board that halo is what makes an engraving look homemade. A layer of paper tape on the board before the laser runs catches it instead: the laser burns through the paper where the design is, and everything else peels off clean afterwards.
Transfer tape for vinyl is the usual choice because it comes in wide rolls and its adhesive lets go without leaving residue. That’s not what TapeManBlue makes it for, but it’s what many laser makers use it for.
Pro tip Lay the tape with a squeegee or a credit card from the center out, then burnish it down hard over the area to be engraved. Any air bubble lifts during the job, and the edge of a lifted bubble shows up as a smudge on the wood.
Why we like it
- ✓12 in wide, so one or two strips cover the face of a cutting board without seams through the design
- ✓Plain 4 mil paper with a medium-high tack adhesive that lies flat
- ✓Peels off clean per TapeManBlue, which on raw wood means no sticky film left in the grain
- ✓100 ft roll lasts for dozens of boards
- ✓Made in the USA
Keep in mind
- !Sold for vinyl, not lasers — masking wood is a maker's use, not something the label covers
- !Paper burns, so the laser can never be left alone and a test with the tape on comes first
- !The mask changes how deep the laser burns, so settings from an unmasked test don't carry over
- Size
- 12 in × 100 ft (30.5 cm × 30.5 m)
- Material
- 4 mil natural paper
- Adhesive
- Medium-high tack, layflat
- Made in
- USA
- Part number
- TMB12X100P
LONGER Ray5 10W Laser Engraver, 400 × 400 mm
An open-frame 10 W diode that can be raised over a thick board.
An engraved name on a cutting board doesn’t need photo-level detail, but it needs clean edges and enough power to burn a deep, even brown into hard maple. A 10 W diode does that in one or two passes, and the 400 × 400 mm working area covers a design across the middle of a full-size board.
The real reason to pick an open frame for this project is height. A cutting board is 1 in thick or more, which is taller than many enclosed machines accept. The Ray5 sits on four feet over the work, so it can stand on blocks, the board slides underneath and the focus is set on the board’s surface. The trade-off is safety gear and fresh air: an open diode laser needs both.
Pro tip Raise all four feet by exactly the same amount (identical wood blocks or a set of risers), then frame the job before engraving. A machine that’s tilted by even a few millimetres engraves one end of a long name sharper than the other.
Why we like it
- ✓10 W dual-beam diode module with a 0.06 × 0.06 mm spot for clean lettering
- ✓400 × 400 mm (15.7 × 15.7 in) working area, enough for a design across most of a cutting board
- ✓Open frame, so a board thicker than the frame's clearance can go under a raised machine
- ✓3.5 in touchscreen plus USB, TF card and Wi-Fi, so a job can run without a laptop attached
- ✓Works with LightBurn and LaserGRBL as well as LONGER's own LaserBurn software
- ✓Emergency stop, motion protection and overheat detection per LONGER
Keep in mind
- !Class 4 open frame — everyone in the room needs laser glasses rated for the blue diode, and it must never run unattended
- !No enclosure or fume extraction; smoke needs a window and a fan
- !Comes as a kit to assemble, and has no camera or auto-focus — focus is set by hand for every piece
- Laser
- 10 W optical, dual-beam blue diode
- Spot size
- 0.06 × 0.06 mm
- Working area
- 400 × 400 mm (15.7 × 15.7 in)
- Max speed
- 24,000 mm/min
- Control
- 3.5 in touchscreen, USB, TF card, Wi-Fi, app
- Software
- LightBurn, LaserGRBL, LaserBurn
- Weight
- 9.4 lb (4.3 kg)
- Model
- Ray5 10W
CARLANY OD 6+ Laser Safety Glasses, 190–490 nm
OD 6+ across 190–490 nm, the whole blue diode band.
The glasses that come in a laser’s box often don’t state a wavelength or an optical density. A desktop diode runs somewhere around 445–455 nm depending on the module, and the rating needs to cover the whole band, not just one number. These cover 190–490 nm at OD 6+, which takes in every blue diode on the market with room to spare.
The 55% light transmission matters more than it sounds. Darker glasses push people to lift them for a quick look at the work, which is exactly the moment the eyes are unprotected.
Pro tip Hang a second pair on the door of the room the laser is in. Anyone who walks in while a long engraving runs puts them on first; the beam’s reflection off a board is as dangerous from the doorway as from the bench.
Why we like it
- ✓OD 6+ across 190–490 nm, listed for 405, 445, 450, 455 and 473 nm lasers
- ✓EN 207 approved per the listing, the European standard laser eyewear is tested to
- ✓55% visible light transmission keeps the room bright enough to watch the job
- ✓Oversized full-rim frame with side coverage
- ✓Comes with a zip case
Keep in mind
- !Not for CO2 (10,600 nm) or 1064 nm infrared lasers
- !Acrylic lenses scratch more easily than glass; a scratched pair should be replaced, not polished
- !The orange tint hides the true color of the burn, so the test grid is judged with the glasses off and the laser off
- Protection
- 190–490 nm, OD 6+
- Listed wavelengths
- 275, 365, 405, 445, 450, 455, 473 nm
- Certification
- EN 207 (per the listing)
- Visible light transmission
- 55%
- Lens / frame
- Acrylic lens, plastic full-rim frame
- Included
- Zip case
- Model
- KR-IPL-14NM-01
John Boos Mystery Oil & Board Cream Care Set
Food-grade mineral oil, then a beeswax cream to seal the board.
Laser engraving leaves bare, dry wood where the design is, and the paper mask and a bit of sanding remove some of the factory finish around it. Before the board goes in a gift box, or near food, it needs oil again. Mineral oil is the standard: it’s food-safe, it doesn’t go rancid like cooking oils, and it soaks into the engraved letters as well as the flat face.
The cream is the second step. The beeswax stays near the surface and slows down how fast water gets in, which is what keeps a board from drying out and cracking. Two products, two steps, and the board looks finished.
Pro tip Oil the engraving first and let it soak in while the rest of the board gets its coat. The burned wood is drier than the face around it and drinks more; a second dab on the letters gives them an even, deep brown instead of patches.
Why we like it
- ✓16 fl oz of food-grade mineral oil soaks into bare wood and the freshly engraved letters
- ✓5 oz board cream of unbleached beeswax and mineral oil seals the surface after oiling
- ✓Oil, then cream is the same routine John Boos gives for its own boards
- ✓Enough oil to finish several boards and keep them up afterwards
Keep in mind
- !The cream can sit in engraved letters as a white film unless it's brushed out and buffed
- !Neither is a hard finish — the board needs another coat every few weeks of use
- !Oil darkens maple a shade and makes the engraving look slightly less contrasty than raw wood
- Oil
- Mystery Oil, food-grade mineral oil, 16 fl oz (473 ml)
- Cream
- Board Cream, unbleached beeswax and mineral oil, 5 oz (142 g)
- For
- Cutting boards, butcher blocks, oil-finished countertops, wooden utensils
- Model
- MYSCRM
CLARK'S Cutting Board Oil & Wax Applicator, Round
A firm sponge that spreads oil and cream evenly and washes out.
Oiling a board with a paper towel works, but towels soak up half the oil and leave lint in the grain. A firm applicator pushes the oil into the wood instead, and with board cream it spreads a thin, even layer that buffs out without streaks.
For an engraved board it’s half of the job. The flat face goes fast with the sponge; the engraving itself gets a small brush. Between the two, the oil reaches every part of the board.
Pro tip Use one applicator for oil and a second one, or the other side of a clean cloth, for the cream. Oil left in the sponge thins the cream, and the finish stays tacky longer.
Why we like it
- ✓Stiffer sponge than a rag, which CLARK'S says gives a more even coat
- ✓Round, so it fits into round tins of wax and board butter
- ✓Solid maple handle shaped to the palm
- ✓Reusable — CLARK'S suggests keeping it in a sealable bag between uses instead of throwing out oily rags
- ✓Made in the USA
Keep in mind
- !The sponge is too big for fine engraved letters; a small brush or a cloth corner works the finish into them
- !One size only on this variant (a rectangular one is on the same listing)
- !Oily sponges still need care — wash it, or keep it sealed, and never pile it with oily rags
- Handle
- Maple wood
- Pad
- Food-safe sponge, round
- Size
- 2.5 × 2.5 × 3.5 in
- Weight
- 3.3 oz (94 g)
- Made in
- USA