Engrave Your Pet's Photo on Wood or Slate
A phone photo of a dog or cat becomes a laser-engraved slate coaster or basswood plaque — a gift no shop can sell, in six steps, with the tools for each one.
Published October 7, 2026 · 7 picks
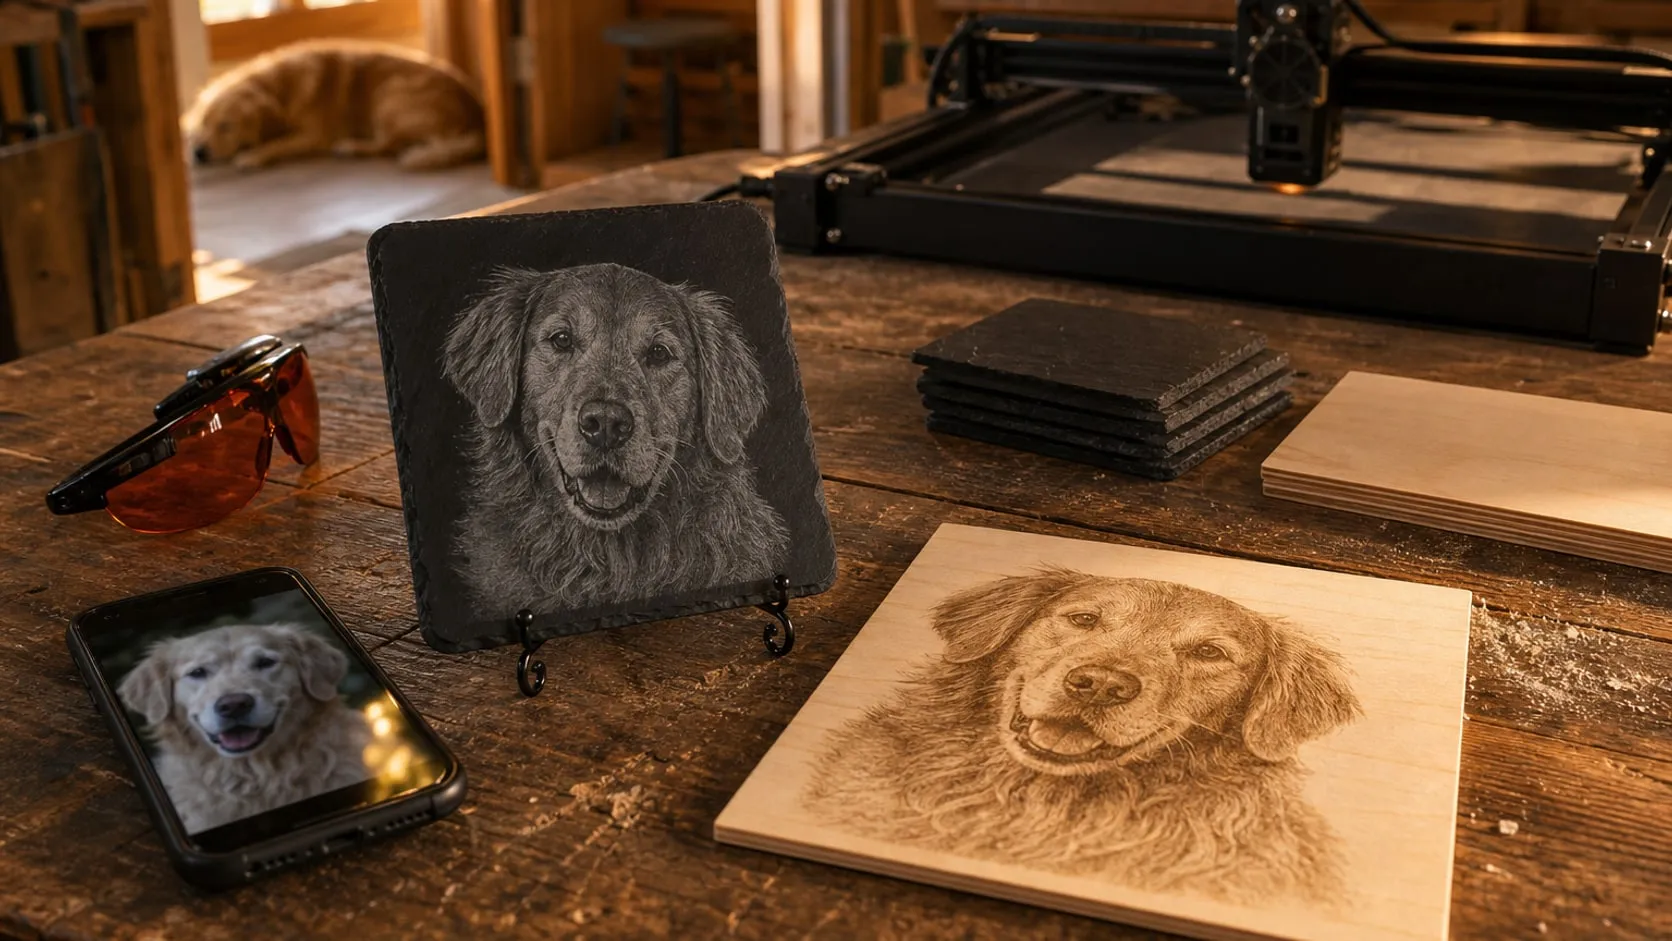
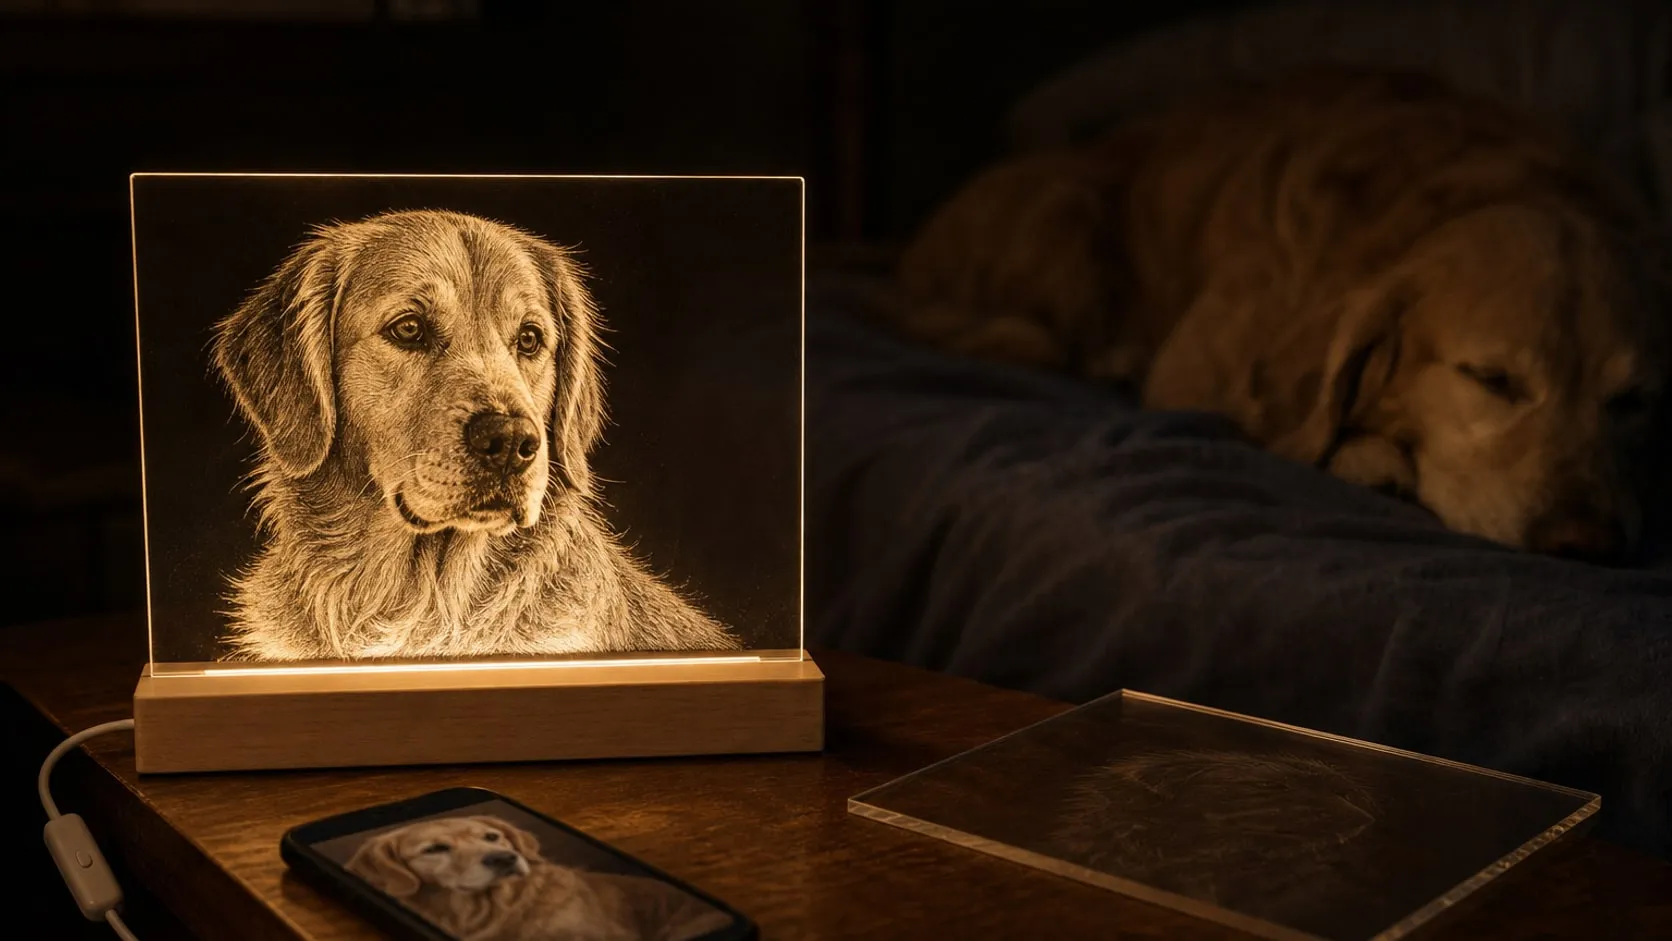
Every pet owner has a thousand photos on their phone and none on a shelf. A laser turns one of them into a coaster or a small plaque: burned into pale wood in warm browns, or drawn in light gray on black slate. It’s a gift for the friend whose dog goes everywhere with them, for parents who send more pictures of the cat than of themselves, or in memory of a pet that’s gone. And it can’t be bought, because no shop has that photo. Here’s the whole process, with the tools for each step below.
Step 1: Pick the right photo
The laser can only engrave what’s in the picture, so the photo decides most of the result. Look for:
- A face toward the camera, eyes sharp. Eyes and whiskers are what make the engraving look like that animal.
- Soft, even light. Outdoor shade or a window is ideal. Hard sunlight and flash leave black shadows and white patches that engrave as blank areas.
- Contrast with the background. A black dog on a dark sofa engraves as a blob. If the background is busy or the same tone as the pet, plan to remove it in Step 2.
- A real photo, not a screenshot. Anything a phone camera took in the last ten years has plenty of resolution; a picture forwarded through three chats usually doesn’t.
Both materials work with any pet, but as a rule a dark animal looks dramatic on slate, where only the highlights get engraved, and a light animal with lots of fur detail shows more tones on wood.
Step 2: Prepare the image
Laser software such as LightBurn (paid, with a free trial) or LaserGRBL (free) does the whole job from here, and a free image editor or the phone’s own photo app handles the first two points.
- Crop tight. On a 4 in coaster, head and shoulders fill the piece; a full-body shot turns the face into a few dots.
- Remove or fade the background. Most phone apps and free online tools do this in one tap. A plain background makes the engraving read instantly.
- Grayscale, then contrast. Convert to black and white, raise the contrast a little and sharpen slightly. Flat, muddy midtones are the most common reason a laser photo disappoints.
- Size it to the piece. About 3.5 in (9 cm) across for a 4 in coaster. Set the image resolution in the laser software to match the line interval you’ll engrave at (Step 5), and let it resample.
- Choose a dither. Diode lasers render photos best as dots. Jarvis and Stucki dithering are the usual choices; plain grayscale (power-scaled) mode works on wood but tends to go muddy on slate.
- For slate, invert the image. The laser lightens slate, so the brightest parts of the photo must be where the laser works hardest. Every laser program has a negative image option; this one checkbox is the step most first slate attempts miss. For wood, leave the image as it is: the laser darkens, so dark stays dark.
Add the pet’s name, and the years if it’s a memorial, as a small text block under the portrait. Keep it simple; thin script fonts turn into dashes at this size.
Step 3: Choose and prep the blank
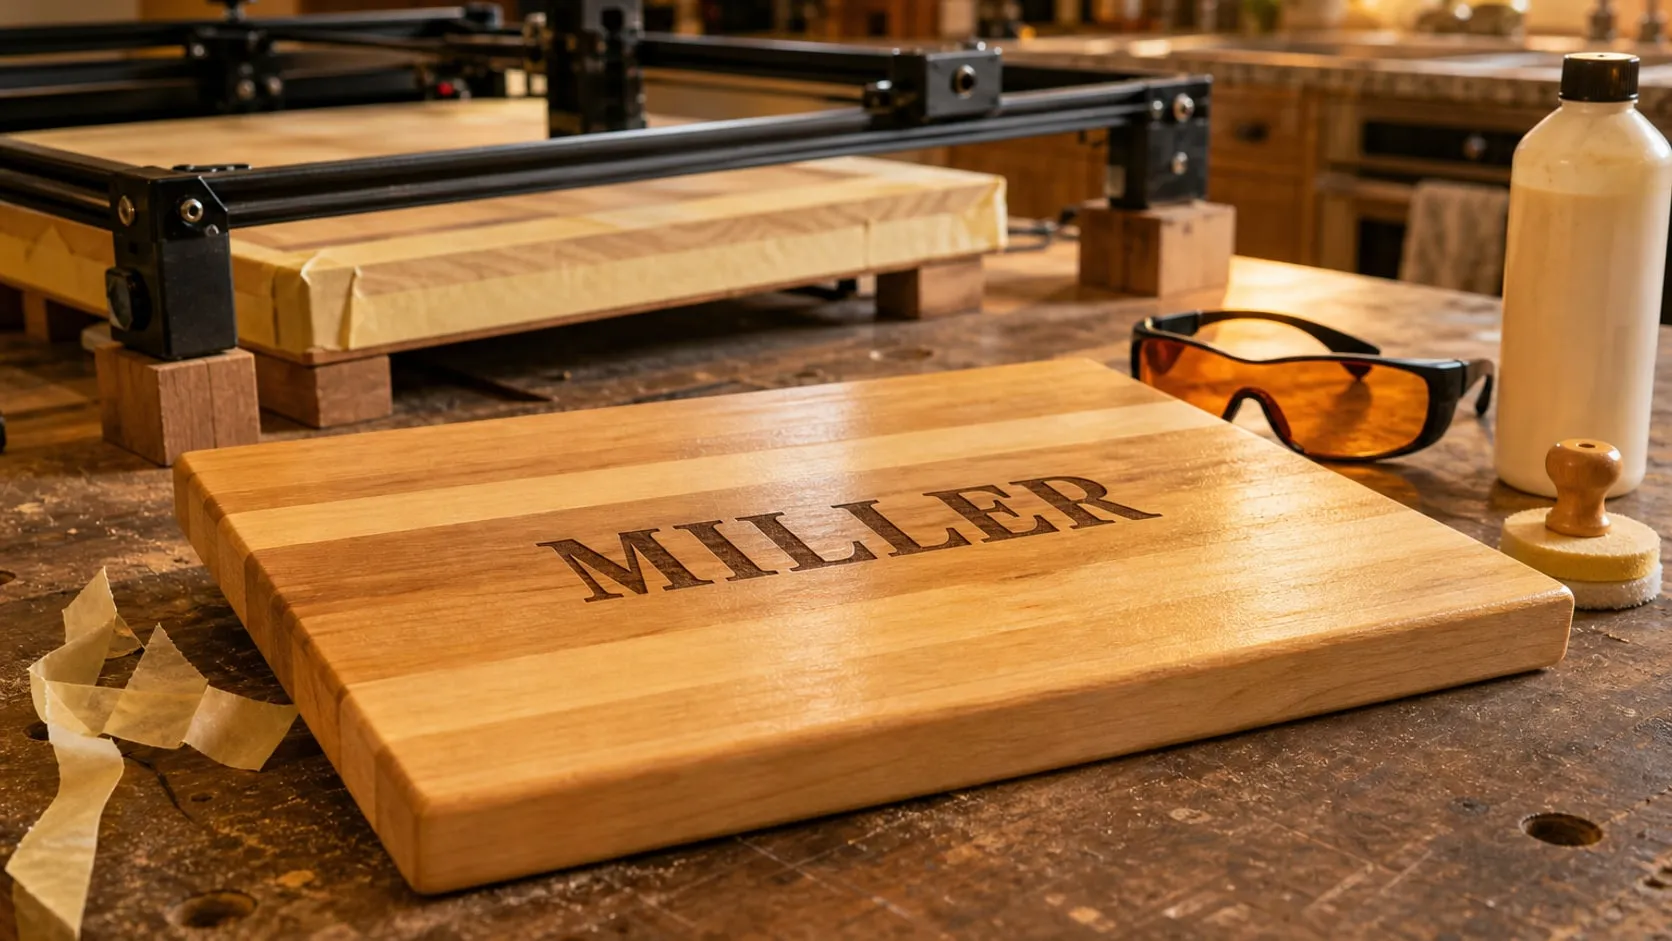
Wood. Pale, fine-grained wood shows the most shades. Basswood plywood is the standard choice; maple, cherry and alder also engrave well. Avoid dark woods, pine with bold grain and anything with knots in the face: the grain competes with the photo. Wipe the dust off, and tape or weigh the corners down so the sheet lies flat.
Slate. Natural, so every piece is a little different. Wipe each coaster with a damp cloth and let it dry fully, then pick the flattest, smoothest pieces for the portraits and keep the rest for tests. Many engravers wipe a thin coat of mineral oil on before engraving to darken the stone, others oil after; a test coaster each way settles it for your stone and your laser.
Never put PVC, vinyl or anything with chlorine in a laser. It releases chlorine gas and corrodes the machine. Stick to plain wood, slate and the materials your laser’s maker lists.
Step 4: Set up the laser safely
A desktop diode laser is a Class 4 device: the beam and its reflections can damage eyes in an instant, and wood burns. The setup is simple, but none of it is optional.
- Glasses rated for the laser’s wavelength, worn by everyone in the room from the moment the laser is armed. Blue diodes run around 445–455 nm; the glasses should state that range and an optical density, and the ones in the machine’s box often state neither.
- Fresh air. A window with a fan blowing out, or an enclosure with an exhaust hose. Wood smoke is bad to breathe and settles on everything, and slate dust is no better.
- Nothing flammable on the bed and a fire extinguisher or a spray bottle of water within reach. Never leave a running laser alone, not even for a photo that takes twenty minutes.
- Pets out of the room. The light that hurts your eyes hurts theirs, and a curious nose at bed height is a burn waiting to happen. The dog in the photo waits outside the door.
- Focus on the piece, not the bed. Set the focus with the module’s spacer on the top surface of the blank. Slate pieces vary in thickness, so refocus for each one.
- Air assist, low. A light stream of air keeps smoke off the lens and soot off the wood. A strong blast cools the surface and lightens the burn, so set it once and leave it alone between the test and the real piece.
Step 5: Test, then engrave
Every laser, every sheet and every batch of slate is a little different, so a test comes first. The material test or test grid feature in LightBurn and LaserGRBL engraves small squares across a range of speeds and powers on a spare blank; without it, a few 1 cm squares at different settings do the same job.
Starting points people commonly share for a 10 W diode, to narrow the grid:
- Basswood: 20–40% power at 3,000–6,000 mm/min, 0.08–0.1 mm line interval (254–318 DPI).
- Slate: 20–40% power at 3,000–6,000 mm/min, 0.1 mm line interval.
Then engrave a copy of the actual photo, small, on the same scrap. Look at it with the glasses off and the laser off:
- Too dark, detail lost in the shadows? Less power or more speed.
- Washed out, the fur barely there? More power, or go back to Step 2 and add contrast; on slate a ghostly image is almost always the image, not the laser.
- Soft, fuzzy dots? The focus is off. Reset it on the surface of the piece.
Now the real one: same settings, same focus, same sheet or a coaster from the same batch. A 3.5 in photo at a 0.1 mm interval takes roughly 20–30 minutes at those speeds. Stay with it, and don’t touch the piece until the head has parked.
Step 6: Clean up, finish and wrap it
Wood. Wipe the bare wood with a barely damp cloth, or go over the haze around the image with a soft eraser, and let it dry. Then either leave it natural with a light coat of matte clear spray, or wipe on a little mineral oil: it warms the wood and deepens the burn. Test the oil on an engraved scrap first, because it darkens the surface a touch. If the plaque was cut out of the sheet, sand the edge lightly and drill or cut a hole for a ribbon.
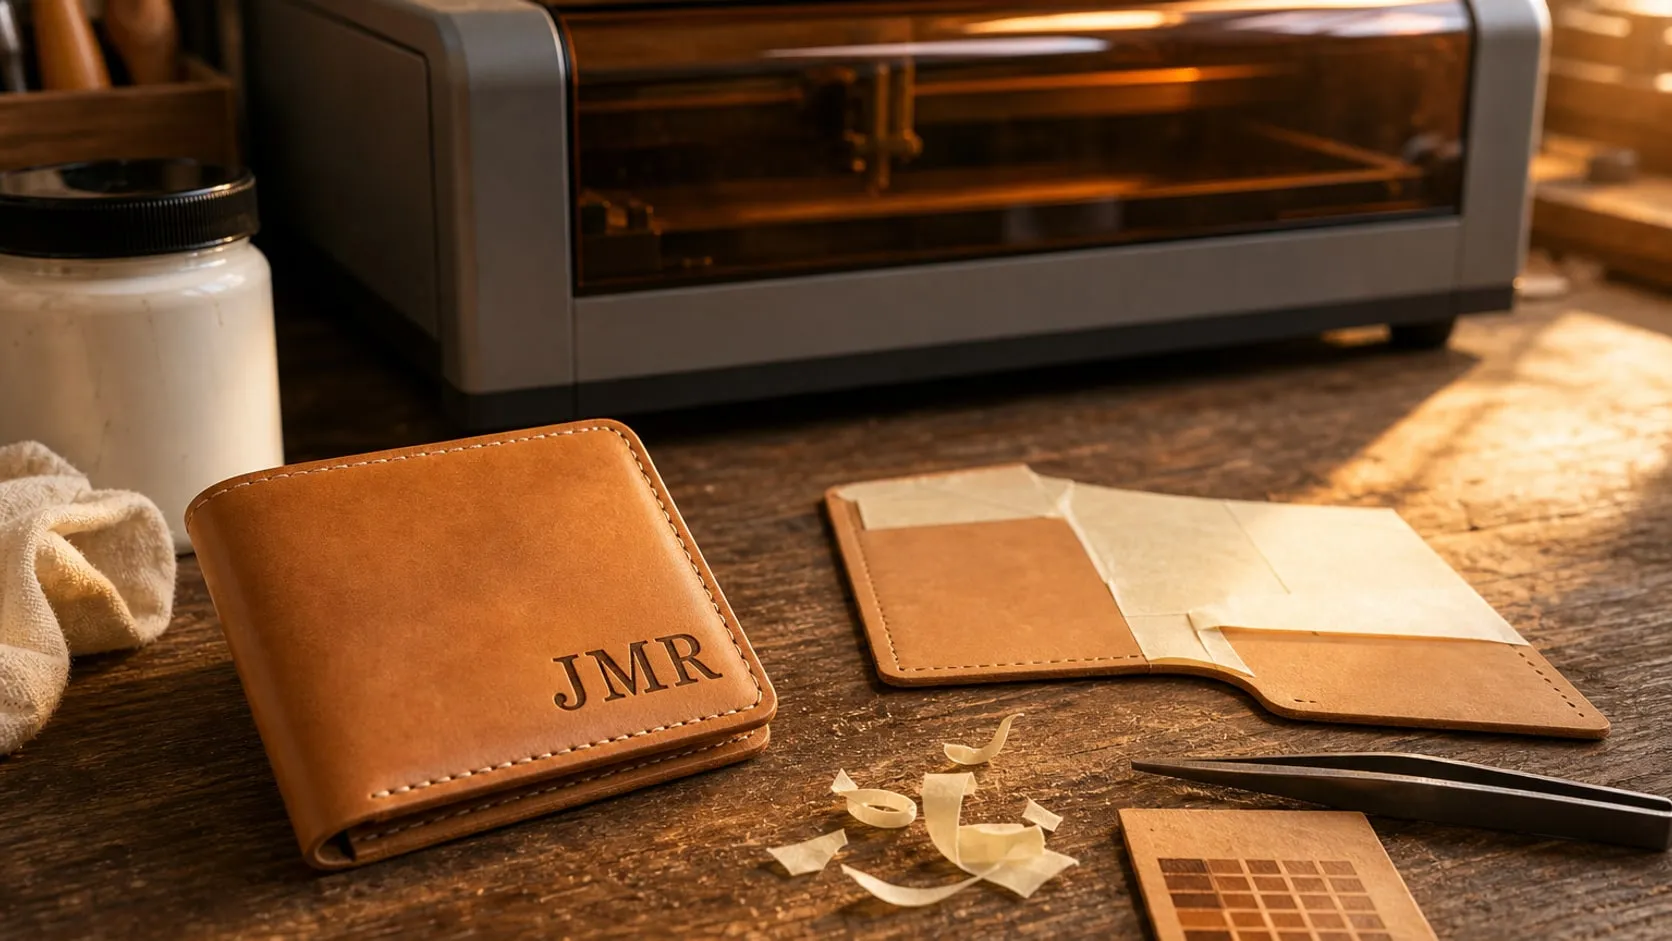
Slate. Brush the dust off and wipe the stone with a few drops of mineral oil on a cloth, then buff the excess away. The untouched surface goes deep black and the engraving stands out. Keep the oil to a thin film; a wet surface collects dust.
The gift. A coaster on a small easel in a box with tissue paper looks finished without any wrapping skills. For a bigger gift, engrave a set of four coasters from four different photos, or a plaque for the wall with a coaster to match. If it’s a memorial, the name and years under the portrait say everything the card would.
What it costs in time: an hour to pick and prepare the photo, an evening for the test grid and a trial run, about half an hour per engraving, and a few minutes of finishing. Start a week before the gift is needed, with a spare blank or two, and keep the first attempt. It’s the one you’ll want for your own shelf. The tools for each step are below.
At a glance
7 picksAs an Amazon Associate I earn from qualifying purchases. If you buy through a link on this page we may earn a small commission, at no extra cost to you. How this works.
LotFancy Basswood Plywood Sheets, 12 × 12 × 1/8 in (12-Pack)
Pale, even basswood plywood that shows the most tones in a burned photo.
The wood decides how many shades a photo can have. Dark woods and strong grain fight the image, and resinous pine burns unevenly. Basswood is pale with a fine, quiet grain, which is why it’s the sheet most laser makers reach for when the job is a face rather than a logo. The laser’s burn goes from honey to dark brown, and all of it reads against the light background.
At 1/8 in the sheets are thin enough that the same 10 W diode that engraved the photo can cut the plaque or ornament free afterwards, with a hole for a ribbon if the gift is going on a tree.
Pro tip After engraving, wipe the bare wood with a barely damp cloth before anything else touches it. It lifts most of the smoke haze around the image; oil or clear coat applied first would lock the stain in.
Why we like it
- ✓Light, even basswood face, so the burned grays of a photo show against a pale background
- ✓1/8 in (3 mm) is thin enough for a 10 W diode to cut the plaque shape out after engraving
- ✓About 11.8 × 11.8 in (30 × 30 cm) per sheet — one holds a plaque and a test grid
- ✓Twelve sheets, so there's room for a second try
Keep in mind
- !Plywood, not solid wood; at high power the thin face veneer burns through to the glue line
- !Sheets this thin can bow, so tape or weigh the corners flat before engraving
- !Grain and color vary between sheets; run the test on the sheet you'll use
- Size
- About 11.8 × 11.8 in (30 × 30 cm)
- Thickness
- 1/8 in (3 mm)
- Sheets
- 12
- Material
- Basswood plywood, unfinished
- Model
- 13Y-5377-U
GOH DODD Slate Coasters, 4 in Square, Blank (24-Pack)
Natural 4 in slate squares that engrave light gray on near-black.
Slate is the material that makes a laser photo look like it belongs on a mantelpiece. The laser doesn’t burn it, it flakes the dark surface into a lighter gray, so the image appears as a pale drawing on near-black stone, the way a chalk portrait would. A black dog with bright eyes is dramatic on it; a pale cat comes out as a soft silver silhouette.
Because the laser lightens the stone instead of darkening it, the photo has to be inverted before engraving, which is one checkbox in the laser software and the step most first attempts miss. The uneven edges and the slight variation between pieces are part of the look; the rubber feet mean it’s a coaster the moment it comes off the bed.
Pro tip Wipe each coaster with a damp cloth and let it dry completely before engraving; slate dust under the beam scatters it and leaves pale speckles in the dark areas. Keep the cleanest, flattest pieces for the portraits and use the rest for the test grid.
Why we like it
- ✓Slate turns light gray where the laser hits, so a photo comes out as a pale drawing on dark stone
- ✓4 × 4 in (10 × 10 cm), a size that suits a head-and-shoulders portrait
- ✓Four rubber pads on the bottom, so it's a finished coaster as soon as it's engraved
- ✓24 in a pack — a test grid, a few mistakes and still a set of four or more
Keep in mind
- !Natural stone, so thickness and surface texture vary from piece to piece and each one needs its own focus
- !Hand-chipped edges; the squares aren't identical
- !The engraving is gray, not white, so the contrast is softer than a dark burn on pale wood
- Size
- 4 × 4 in (10 × 10 cm)
- Shape
- Square (a round set is on the same listing)
- Material
- Natural slate
- Bottom
- 4 rubber pads
- Count
- 24
ORTUR Laser Master 2 S2 LU2-10A Laser Engraver, 10 W
A 10 W diode with a 0.05 × 0.1 mm spot and a bed big enough for a set of coasters.
A photo engraving is thousands of tiny dots, and the dots can only be as small as the laser’s spot. A 10 W diode with a compressed 0.05 × 0.1 mm spot is the class of machine that renders fur, whiskers and the catchlight in an eye on a 4 in coaster, while still having the power to cut a plaque shape out of 1/8 in basswood afterwards.
The Laser Master 2 S2 is an open-frame machine, which is what makes it affordable and what makes the safety gear below non-negotiable. The frame bolts together quickly, LightBurn and LaserGRBL both drive it, and the module has an air-assist port ready for the pump. Plan for a room with a window, and keep the pets out of it while it runs.
Pro tip Set the focus with the module’s spacer on the top surface of the piece, not the bed. Slate coasters vary in thickness, so refocus for each one; a focus that’s off by a millimetre turns crisp dots into a soft smudge.
Why we like it
- ✓10 W optical output with a compressed 0.05 × 0.1 mm spot for fine photo detail
- ✓390 × 410 mm (about 15 × 16 in) engraving area holds a plaque or a full tray of coasters
- ✓Works with LightBurn and LaserGRBL and takes JPG, PNG, BMP, SVG and DXF files
- ✓Built-in air-assist port on the laser module
- ✓A G-sensor stops the laser if the frame is bumped or tilted, and the beam stops if the USB link drops
- ✓Metal frame, assembled in about 10–15 minutes per ORTUR
Keep in mind
- !Class 4 open frame — everyone in the room needs rated laser glasses, and it must never run unattended
- !No enclosure, so smoke needs a window and a fan, or an enclosure bought separately
- !A 2020 design without a camera or auto-focus; newer machines are quicker to set up
- Laser module
- LU2-10A, 10 W optical (blue diode)
- Spot size
- 0.05 × 0.1 mm
- Engraving area
- 390 × 410 mm (15.4 × 16.1 in)
- Software
- LightBurn, LaserGRBL (Windows; macOS via LightBurn)
- File formats
- SVG, DXF, JPG, PNG, BMP, TIF
- Laser class
- Class 4
- Weight
- 9 lb (4.1 kg)
- Model
- Laser Master 2 S2 LU2-10A
LaserPair GTY33 Laser Safety Glasses, 180–534 nm & 740–1095 nm
CE-certified OD 7+ glasses for the blue diode wavelength.
An open-frame diode laser is a Class 4 device, and the blue light that bounces off the work is bright enough to damage eyes from across the room. Laser glasses are rated by wavelength and optical density, and the pair that comes in many machine boxes states neither. These state both: OD 7+ at the blue diode wavelength, with the EN 207 certification that laser eyewear is tested against.
They also cover 1064 nm, so they stay useful if an infrared module for metal comes later. The orange tint is the filter doing its job; it also means colors look wrong through them, which is why the test grid gets judged with the glasses off and the laser off.
Pro tip Buy one pair per person who might walk in. A partner bringing coffee while the laser runs needs the same protection you do, and a spare pair by the door is the easiest safety rule you’ll ever follow.
Why we like it
- ✓OD 7+ across 180–534 nm, which covers the 445–455 nm blue diodes in desktop engravers
- ✓Also rated for 740–1095 nm, so they work with 1064 nm infrared modules
- ✓CE certified to EN 207 by DIN CERTCO, per LaserPair
- ✓Wrap-around TR90 frame with side protection
- ✓23% visible light transmission — enough to watch the job
Keep in mind
- !The orange lens changes colors, so judging the tone of an engraving through them is hard
- !Not rated for CO2 lasers (10,600 nm)
- !LaserPair says no alcohol wipes on the frame
- Protection
- 180–534 nm OD 7+, 740–900 nm OD 5+, 900–1095 nm OD 7+
- Certification
- CE, EN 207 (DIN CERTCO)
- Visible light transmission
- 23%
- Lens
- Orange polycarbonate, scratch-resistant coating
- Frame
- TR90 wrap-around, 20 cm temple to temple
- Model
- GTY33
ORTUR Air Assist Pump, 0–50 L/min
Keeps smoke off the lens and soot off the wood while the photo engraves.
Air assist is the accessory that laser makers say they’d never go back from. A steady stream of air at the nozzle pushes smoke out of the beam’s way, so the laser hits the wood instead of a cloud, and the lens doesn’t slowly coat itself in resin. On a photo it shows as cleaner midtones and fewer brown smoke stains around the engraving.
This pump is ORTUR’s own, with the LU2-10A module on the list, so it connects to the port that’s already on the Laser Master 2 S2. Other brands sell matching pumps for their modules; the dial, hose and push-fit fitting are the same idea everywhere.
Pro tip For photos, turn the dial down. A light stream is enough to keep the lens clean; a strong blast cools the wood and lightens the burn. Whatever setting the test grid ran at, leave it there for the real piece.
Why we like it
- ✓ORTUR lists it for the LU2-10A module (Laser Master 2 S2 and 2 Pro S2) and the Laser Master 3 10 W and 20 W
- ✓Airflow adjustable from 0 to 50 L/min on an inline dial
- ✓Blows smoke and soot out of the beam path, so the lens stays cleaner between jobs
- ✓The kit photo shows the hose, a brass push-fit fitting, a mounting plate and cable ties
Keep in mind
- !Fitting list is ORTUR-specific; other brands' modules may need a different nozzle or adapter
- !A separate box with its own power cord and a hose to route along the laser's cable chain
- !Air assist moves smoke, it doesn't remove it — a fan and an open window still do that
- Airflow
- 0–50 L/min, adjustable
- Fits
- ORTUR LU2-4-LF, LU2-10A and LU3-20A modules
- Power
- DC power supply
- Model
- Ortur202210101358
Kate Naturals Food Grade Mineral Oil, 8 fl oz
One wipe that turns slate deep black and warms up a wood engraving.
Straight off the laser, slate looks dusty gray and a wood engraving looks a little flat. Mineral oil is the one-minute fix for both. On slate it soaks into the stone and turns the untouched surface deep black, so the pale engraving stands out more. On basswood it warms the wood and makes the burned tones richer, the same way it brings a cutting board back to life.
Food-grade matters once the project list grows: the same bottle finishes an engraved cutting board or a wooden spoon, which are the next gifts a laser owner usually makes.
Pro tip Slate can be oiled before or after engraving, and makers argue about which gives more contrast. Oil two spare coasters, one each way, engrave the same test image on both, and let the result decide for your stone and your laser. Wipe the excess off well either way; oil left on the surface collects dust.
Why we like it
- ✓Colorless and odorless, so it doesn't tint pale wood or leave a smell on a gift
- ✓USP food-grade, which also makes it right for engraved cutting boards and spoons
- ✓Soaks in and wipes off clean; Kate Naturals says to let it absorb 15–20 minutes and wipe the excess
- ✓A few drops cover a coaster, so the 8 oz bottle outlasts a long project list
Keep in mind
- !A conditioner, not a sealer — slate and wood need a fresh wipe now and then
- !Darkens wood slightly, so test it on an engraved scrap first
- !Sold for cutting boards; the slate use is a maker's trick, not something the label mentions
- Volume
- 8 fl oz (237 ml)
- Type
- USP food-grade mineral oil
- Color and scent
- Clear, odorless
- Sizes on the listing
- 8, 12 and 16 fl oz
Artliving 4 in Black Iron Plate Stands (4-Pack)
A small black easel so the coaster stands on a shelf instead of hiding under a mug.
A coaster lives under a mug. A coaster with someone’s dog on it deserves better, and a small easel is the difference between a gift that gets used and a gift that gets displayed. This one is plain black wire with curled feet, folds flat, and sits behind a 4 in slate square without showing.
It also solves the question of how to present the gift: the coaster on its stand in a small box, with tissue paper around it, looks finished without any wrapping skills. For a set of four coasters, one stand per coaster lets the whole set line up on a shelf.
Pro tip Match the stand to the piece. The 4 in stand fits a 4 in coaster; for a plaque cut from a basswood sheet pick a larger size from the same listing, roughly the height of the piece, so the lip holds the bottom edge and the back supports the top.
Why we like it
- ✓The 4 in size suits a 4 in slate coaster or a small wood tile
- ✓Folds flat, so it slips into the gift box next to the coaster
- ✓Black iron that disappears behind black slate
- ✓Four in a pack — one per gift, or one for each coaster of a set
Keep in mind
- !Light at about 1 oz each; a tall or heavy piece wants a bigger stand from the same listing
- !The lip is shallow, so a thin wood sheet can slide; a dab of museum putty holds it
- !The 4 in size is for coasters and tiles, not for a plaque — the listing goes up to 17 in for those
- Size
- 4 in
- Pack
- 4
- Material
- Iron, black finish
- Weight
- 4.16 oz per pack (about 1 oz each)
- Model
- AR1000-4-4