Install a Smart Garage Camera & Sensor Security Kit
Block the emergency-release trick, add app control, a camera and door sensors, and keep it all online in an outage — the steps and the gear for each.
Published October 10, 2026 · 6 picks
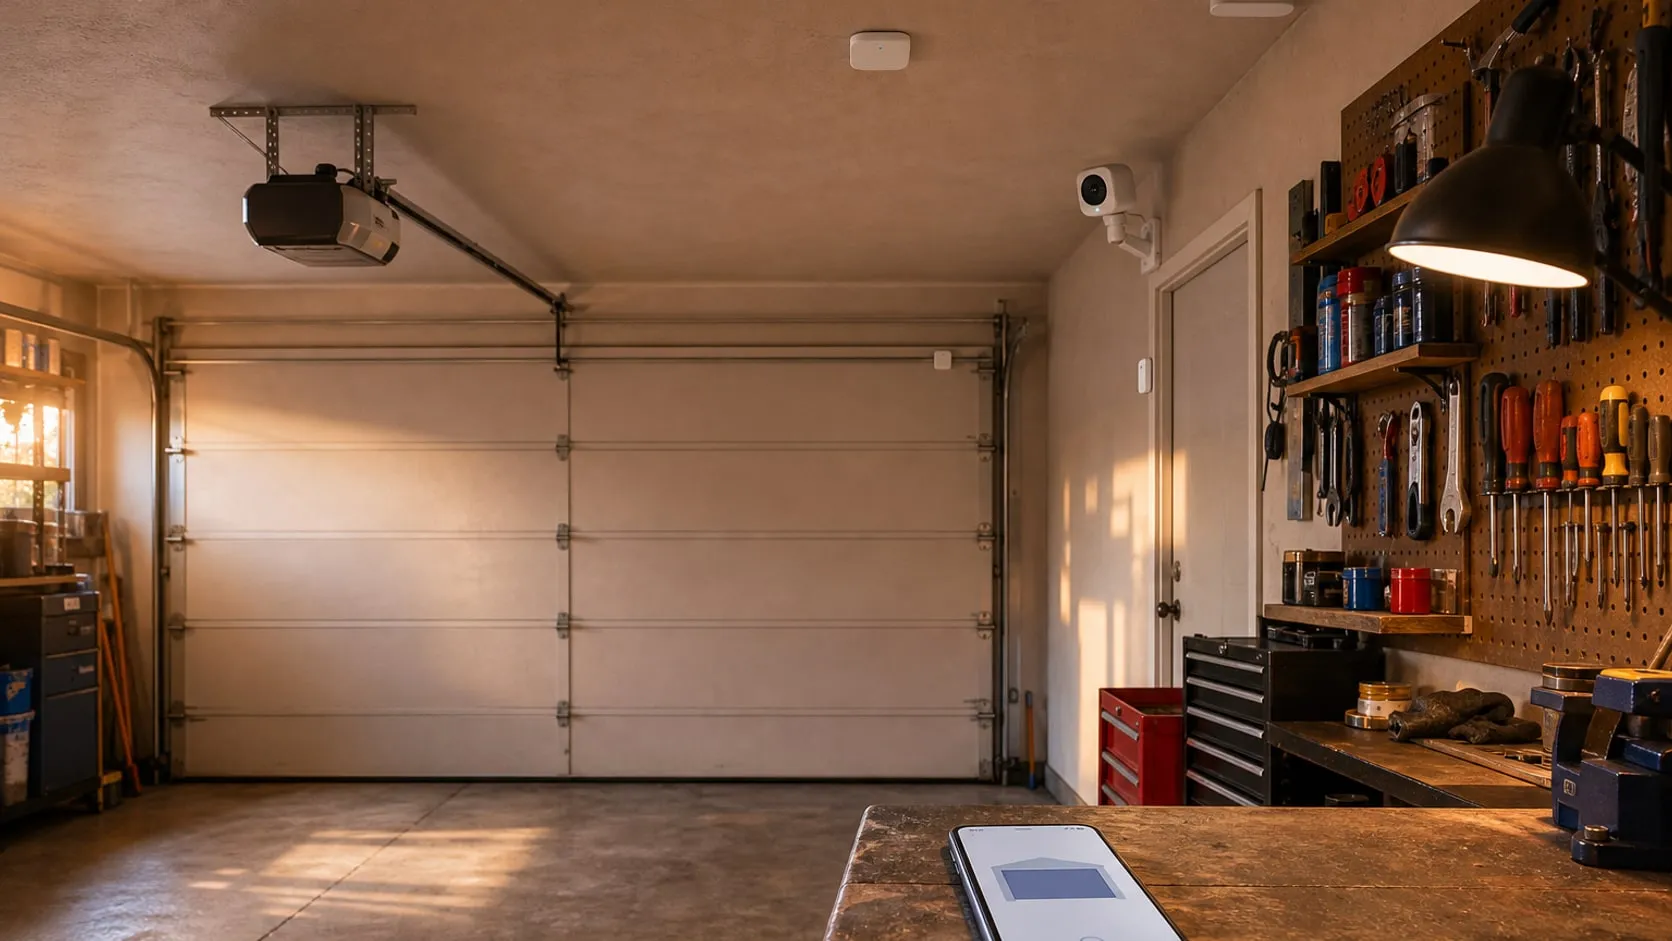
Garage break-ins and tool theft keep coming up on Reddit and TikTok, usually with the same story: the door was left open, or someone fished the emergency release through the top of the door in seconds. The good news is that the fixes are mostly DIY. A plastic shield, a retrofit door controller, one camera and a few peel-and-stick sensors cover the common ways in, and none of it needs an electrician. Here’s the whole install, step by step, with the gear for each step below.
Step 1: Walk the garage and find the weak spots
Before buying anything, look at the garage the way a thief would:
- The big door. Is it ever left open? Does it have a red emergency-release cord hanging from the opener?
- The side door. Often a cheap interior-grade door with a basic knob lock. A deadbolt and long strike-plate screws are worth more than any gadget here.
- Windows. Can someone see the tools from outside? Frosted film or a curtain removes the reason to break in.
- Remotes in cars. A remote clipped to a visor in a car parked outside is a key to the garage. Use a keychain remote or the phone app instead.
- The door into the house. Treat it like a front door: solid, with a deadbolt, and locked at night.
Also check where the outlets are (the opener usually has one on the ceiling) and how strong your Wi-Fi is at the garage door. Stand there with your phone; if a video call stutters, a camera will too.
Step 2: Shield the emergency release
The red cord releases the door from the opener so you can lift it by hand during a power cut. The problem is that a wire hook pushed through the gap at the top of the door can reach it from outside. A release shield sits around the release lever on the opener’s carriage and blocks that hook.
- Close the door and unplug the opener.
- Fit the shield around the release lever as the instructions show; the Garage Shield goes on by hand.
- Plug the opener back in, then pull the release cord once to make sure it still disengages, and run the opener to reconnect the trolley.
The release must always work from inside. Never tie it up or remove the cord to “secure” the door.
Step 3: Add the smart door controller
A retrofit controller lets you see and close the door from your phone. The myQ Smart Garage Control has two parts: a hub on the ceiling and a door sensor on the door.
- Check compatibility first. It works with most openers made after 1993 that use photo-eye sensors, but not with Linear openers, some Chamberlain Group openers with a yellow learn button (2010–2021), or openers whose photo-eyes switch off when the door closes. Sectional doors only.
- Mount the hub on the ceiling near the opener, within reach of a strong Wi-Fi signal.
- Stick the door sensor on the top panel of the door, upright, so it tilts when the door opens.
- Pair it in the myQ app (Bluetooth helps with setup) and connect it to your 2.4 GHz Wi-Fi.
- Turn on alerts and a close schedule, for example every night at 10 p.m. A door left open overnight is the easiest way in, and the schedule closes it for you.
The opener’s photo-eyes still stop the door if something is in the way, but an app-closed door moves when nobody is watching. Keep the photo-eyes clean and aligned, and never close the door remotely if kids or pets could be under it.
Step 4: Mount the camera
- Insert the microSD card before mounting, and format it in the Wyze app.
- Pick a corner at the back of the garage, high up, looking toward the big door and the door into the house. That angle sees faces as people come in, instead of the tops of their heads.
- Mount it with the magnetic stand on a steel surface or the included hardware on a wall or ceiling. Use anchors in drywall; a camera that falls is a camera that records the floor.
- Run the power cable along the wall or ceiling with cable clips, away from the door tracks and springs. Use the ceiling outlet the opener uses if there’s a free socket.
- Set up detection for people and vehicles, turn on the spotlight and decide whether the siren should sound automatically or only when you trigger it.
If you point the camera outside, at the driveway, keep it on your own property and avoid neighbors’ windows; some places have rules about recording audio, too.
Step 5: Add entry and motion sensors
The camera shows what happened; sensors tell you the moment it starts.
- Place the Wyze Sense hub inside the house near the router, then add each sensor in the app.
- Entry sensor on the side door: the sensor on the frame, the magnet on the door, lined up within a short gap. Test it by opening the door slowly.
- Entry sensor on the most reachable window.
- Motion sensor high in a corner, aimed across the garage but away from the big door, windows with direct sun and heaters. If pets use the garage, aim it above their height or leave it off when they’re in there.
- Clean the surfaces with isopropyl alcohol before sticking anything; garage dust is why adhesive fails. Add a small screw where the sensor allows it.
Set the garage to arm at night with the keypad or a schedule, so a side door opening at 3 a.m. sends an alert.
Step 6: Keep it online when the power goes
Everything above depends on power and Wi-Fi. Cutting the power at the breaker or meter turns a smart garage back into a dumb one, and burglars know it. Put the modem, router and sensor hub on the battery outlets of a UPS inside the house, so alerts still reach your phone. The camera keeps recording to its card for as long as its own outlet has power.
Keep the UPS indoors: most, including the CyberPower here, are rated for 32–104 °F, not a freezing or baking garage. Don’t plug the UPS into an extension cord or another power strip.
Step 7: Test everything
- Open the big door with the app from outside the house, then let the close schedule shut it.
- Walk in through the side door at night with the system armed: you should get the sensor alert, and the camera should light up and record you.
- Unplug the UPS from the wall for a minute and repeat the side-door test.
- Scroll back through the recording in the app and check you can actually recognize yourself.
What it costs in time: about ten minutes for the shield, half an hour for the door controller, an hour for the camera and cable routing, half an hour for the sensors and an evening of testing. The gear for each step is below.
At a glance
6 picksAs an Amazon Associate I earn from qualifying purchases. If you buy through a link on this page we may earn a small commission, at no extra cost to you. How this works.
The Original Garage Shield (GS100)
Blocks the hook-through-the-door trick on the opener's emergency release.
Most overhead openers have a red emergency-release cord hanging near the top of the door. With a wire hook pushed through the gap at the top of the door, that cord can be pulled from outside, and the door then lifts by hand. The Garage Shield is a plate that sits around the release lever on the opener’s carriage, so a hook coming in from the door side hits plastic instead of the lever.
It doesn’t change how the release works from inside: you still pull the cord down during a power cut. That makes it one of the simplest upgrades in this kit, and it works whether or not the rest of the garage is “smart”.
Pro tip After fitting it, pull the release cord once with the door closed to confirm it still disengages the trolley, then reconnect it by running the opener. A shield that blocks your own release is a safety problem, not a feature.
Why we like it
- ✓Blocks access to the emergency release from above the door without disabling it from inside
- ✓Installs by hand with the included screws and retainers, no tools, the maker says
- ✓ABS plastic won't rust and adds little weight to the opener arm (4.8 oz)
- ✓Fits overhead openers on modern sectional doors, per the listing
Keep in mind
- !Only covers one weak spot; side doors, windows and remotes left in cars still need attention
- !Not for one-piece (tilt-up) doors
- !Check that the red release handle still hangs free and reachable from inside after fitting it
- Material
- ABS plastic
- Weight
- 4.8 oz
- Fits
- Overhead openers on sectional doors
- Install
- Tool-free, screws and retainers included
- Model
- GS100
Chamberlain myQ Smart Garage Control (MYQ-G0401-ES)
Adds app control, open-door alerts and a nightly auto-close to most existing openers.
The hub mounts on the garage ceiling near the opener and talks to it wirelessly, and the small sensor sticks to the top panel of the door to report whether it’s open or closed. Nothing is wired into the opener itself, which is why it suits rented homes and older openers that never had Wi-Fi.
For security, the two features that matter most are the alerts and the close schedule: a door left open overnight is one of the easiest ways into a garage, and the app can close it for you at a set time. Check the compatibility notes before you buy; the exclusions are specific, and the listing spells them out.
Pro tip Mount the hub where it has a clear line to the opener and still gets a solid Wi-Fi signal. If the garage signal is weak, fix that first (a mesh node or extender near the door into the house) — the camera will need it too.
Why we like it
- ✓Works with most brands of openers made after 1993 that use photo-eye safety sensors
- ✓Open, close and check the door from the free myQ app, with alerts and history
- ✓Close schedule shuts the door at night if it was left open
- ✓Give family or friends access from the app instead of extra remotes
- ✓Bluetooth helps with setup
Keep in mind
- !Not compatible with every opener — excludes Linear openers, Chamberlain Group openers with a yellow learn button made 2010–2021, and openers whose photo-eyes power down when the door is closed
- !Needs 2.4 GHz Wi-Fi with the router within about 50 ft
- !Sectional doors only, and certified for US use only
- Includes
- Hub, door sensor
- Hub size
- 2.6 × 2.6 × 0.8 in
- Wi-Fi
- 2.4 GHz, 802.11 b/g/n
- Mounting
- Ceiling
- Second door
- Extra sensor sold separately
- Model
- MYQ-G0401-ES
Wyze Cam v4 (2.5K, Indoor/Outdoor)
A 2.5K camera with a spotlight and siren that records locally without a subscription.
Garages are a good fit for a small plug-in camera: there’s usually an outlet on the ceiling for the opener, and the temperature swings are within the v4’s rated range for most of the US. The magnetic stand sticks to steel shelving or mounts to a wall or ceiling, and the 120° lens covers most of a two-car garage from a corner.
The spotlight and siren turn it from a recorder into a deterrent: someone who gets the door up is lit and hears an alarm right away. With a microSD card inside, footage is saved locally even if you never pay for the cloud plan.
Pro tip Aim it from the back corner toward the big door and the door into the house, slightly downward. Faces and hands are what you want in frame, not the ceiling lights, which wash out the night picture.
Why we like it
- ✓2560 × 1440 video with a 120° field of view
- ✓Records to a microSD card up to 512 GB without a subscription
- ✓Motion-activated 72-lumen spotlight and a 100 dB siren
- ✓On-device detection of people, packages, pets and vehicles
- ✓IP65 rated, works from -4 °F to 113 °F (-20 °C to 45 °C)
- ✓Two-way audio
Keep in mind
- !2.4 GHz Wi-Fi only
- !Needs a constant power cable, so it has to sit near an outlet or USB power
- !microSD card sold separately; cloud recording and some alerts are part of the optional Cam Plus plan
- Resolution
- 2560 × 1440 (2.5K), 20 fps
- Field of view
- 120°
- Storage
- microSD up to 512 GB, optional cloud
- Weather rating
- IP65
- Operating temp
- -4 to 113 °F (-20 to 45 °C)
- Power
- 5 V, corded
- Size
- 2 × 2 × 2.3 in
- Model
- WYZEC4
SanDisk High Endurance microSDXC 128GB
A card made for nonstop recording, so the camera keeps days of footage.
Security cameras write video all day, every day, and that wears out ordinary memory cards. High Endurance cards are made for that kind of constant rewriting, which is why camera makers and dash-cam owners use them. In a camera that loops its recording, 128 GB holds days of footage before the oldest clips are overwritten.
The card is also what makes the Wyze Cam useful without a subscription: events and continuous recording stay on the camera, and you can scroll back through them in the app.
Pro tip Format the card inside the camera’s app the first time, not on a computer. It avoids file-system mismatches that make some cameras refuse to record.
Why we like it
- ✓Built for continuous recording — SanDisk rates it for up to 10,000 hours of Full HD video
- ✓V30, U3, Class 10 speed ratings
- ✓Temperature-, water-, shock- and magnet-proof, SanDisk says (card only)
- ✓Comes with an SD adapter for reading clips on a computer
Keep in mind
- !A card inside the camera can be taken with the camera — add cloud backup for anything you can't lose
- !At 2.5K, recording time is lower than the Full HD figures on the box
- Capacity
- 128 GB
- Speed class
- Class 10, U3, V30
- Read speed
- Up to 100 MB/s
- Endurance
- Up to 10,000 h Full HD (SanDisk rating)
- Includes
- SD adapter
- Model
- SDSQQNR-128G-GN6IA
Wyze Home Security Core Kit (Hub, Keypad, Motion & 2 Entry Sensors)
Entry sensors for the side door and window plus motion inside, in the camera's app.
A camera records a break-in; sensors catch it the moment it starts. The two entry sensors go on the garage’s side door and its most reachable window, the motion sensor covers the inside, and the keypad lets you arm the garage at night without opening an app.
Because it lives in the same app as the Wyze Cam, an open side door or motion at 3 a.m. sends an alert, and the camera’s live view is one tap away. Whether you add professional monitoring is up to you; the kit is built so you can.
Pro tip Mount the motion sensor high in a corner, aimed down across the room but not at the big door. Sunlight and the door moving set off more false alarms than intruders do.
Why we like it
- ✓Hub, keypad, one motion sensor and two entry sensors in one box
- ✓Peel-and-stick sensors connect wirelessly to the hub
- ✓Same Wyze app as the camera — arm, disarm and check sensor history in one place
- ✓Expands up to 100 sensors, including leak and climate sensors
- ✓Optional 24/7 professional monitoring in the 50 US states
Keep in mind
- !The listing says a subscription is required; the alarm side of the system is built around Wyze's monitoring plan
- !The motion sensor isn't sold as pet-immune — a dog or cat in the garage can trigger it
- !Adhesive mounting can let go in a hot or dusty garage; add a screw where you can
- Includes
- Hub, keypad, motion sensor, 2 entry sensors, power adapter
- Install
- Self-adhesive, wireless to hub
- Capacity
- Up to 100 sensors
- Monitoring
- Optional, US only
- Model
- WSHMS-3M
CyberPower EC850LCD Ecologic UPS (850VA/510W)
Keeps the router and hub online when the power is cut.
A smart garage stops being smart the moment the power or the Wi-Fi goes. Cutting power at the outside meter or breaker is a known move, and without power the camera, the sensor hub and the router all go dark at once. A UPS bridges that gap: put the modem, router and Wyze hub on its battery outlets so alerts still get out.
This model is sized for a home office, which is more than a security setup needs, and that’s the point: a router, a modem and a couple of 5-watt devices draw so little that the battery lasts much longer than with a PC on it.
Pro tip Keep the UPS inside the house next to the router, not in the garage. Then unplug it from the wall once as a test and check your phone: the sensor alerts should still arrive while the lights are out.
Why we like it
- ✓Six battery-backed outlets and six surge-only outlets
- ✓LCD shows battery and power conditions at a glance
- ✓Low-wattage loads like a router, modem, hub and camera run far longer than a computer would
- ✓3-year warranty including the battery, CyberPower says
Keep in mind
- !Rated for 32–104 °F, so it belongs indoors, not in an unheated or very hot garage
- !Sealed lead-acid battery needs replacing every few years
- !Big and heavy (7.7 lb) for what it powers here
- Capacity
- 850VA / 510W
- Outlets
- 12 (6 battery + surge, 6 surge only, 3 of them ECO)
- Input
- 120 V, NEMA 5-15P right-angle plug, 5 ft cord
- Surge rating
- 526 joules
- Operating temp
- 32–104 °F (0–40 °C)
- Size
- 12.2 × 7 × 3.1 in
- Weight
- 7.7 lb